
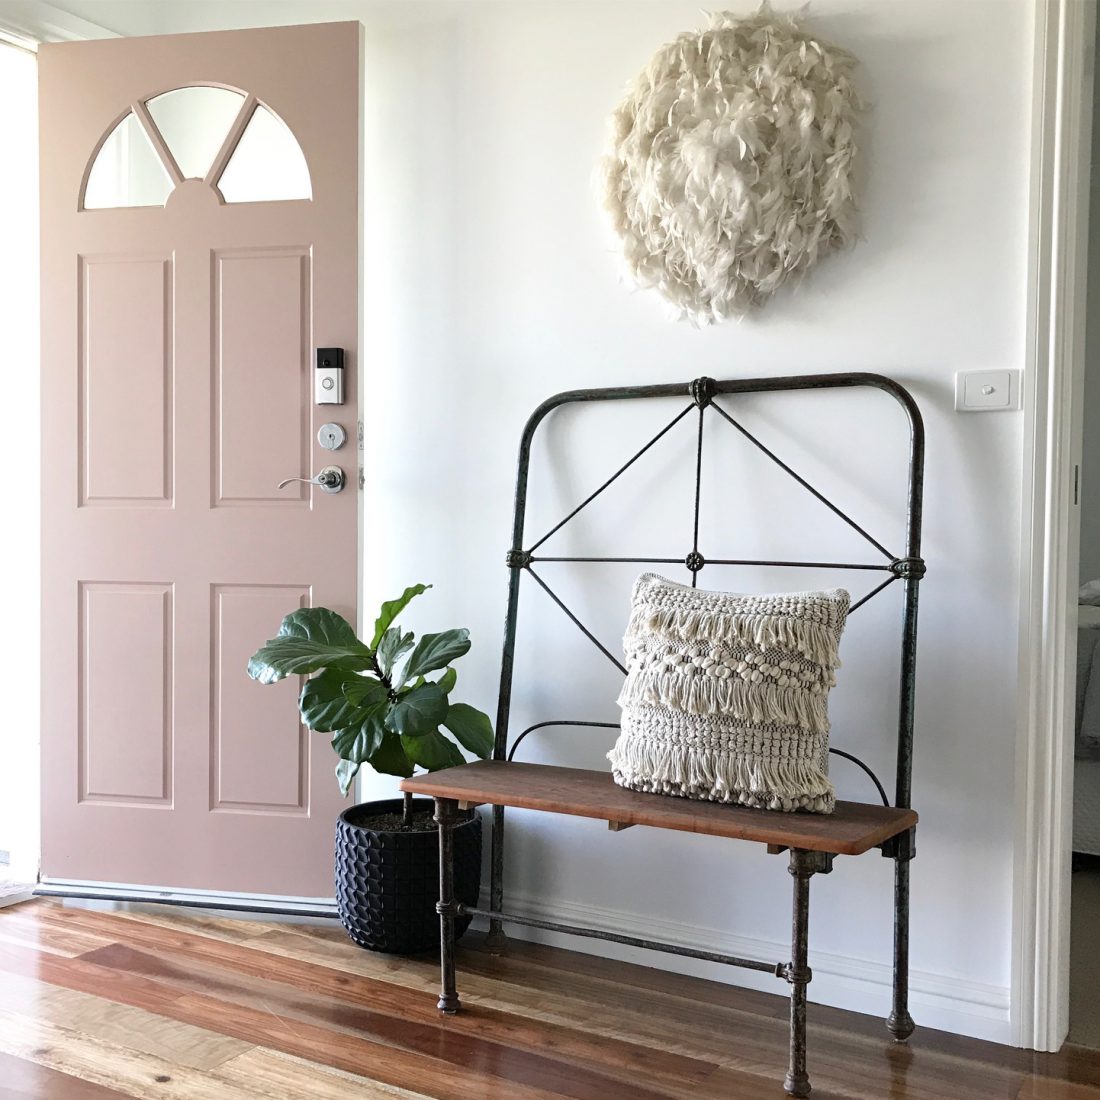
Hi there! Here is a little crafting project I decided to tackle back in 2013 and I thought I might share it again. It was easy peasy, and you can do it too! So, I have been wanting an African Juju Hat to pop on one of my walls, but they were a little pricey for my budget and I happened to see a few tutorials on Pinterest on how to make one, so I thought I would give it a go! If you google DIY Juju Hat, there are lots of tutorials to choose from…
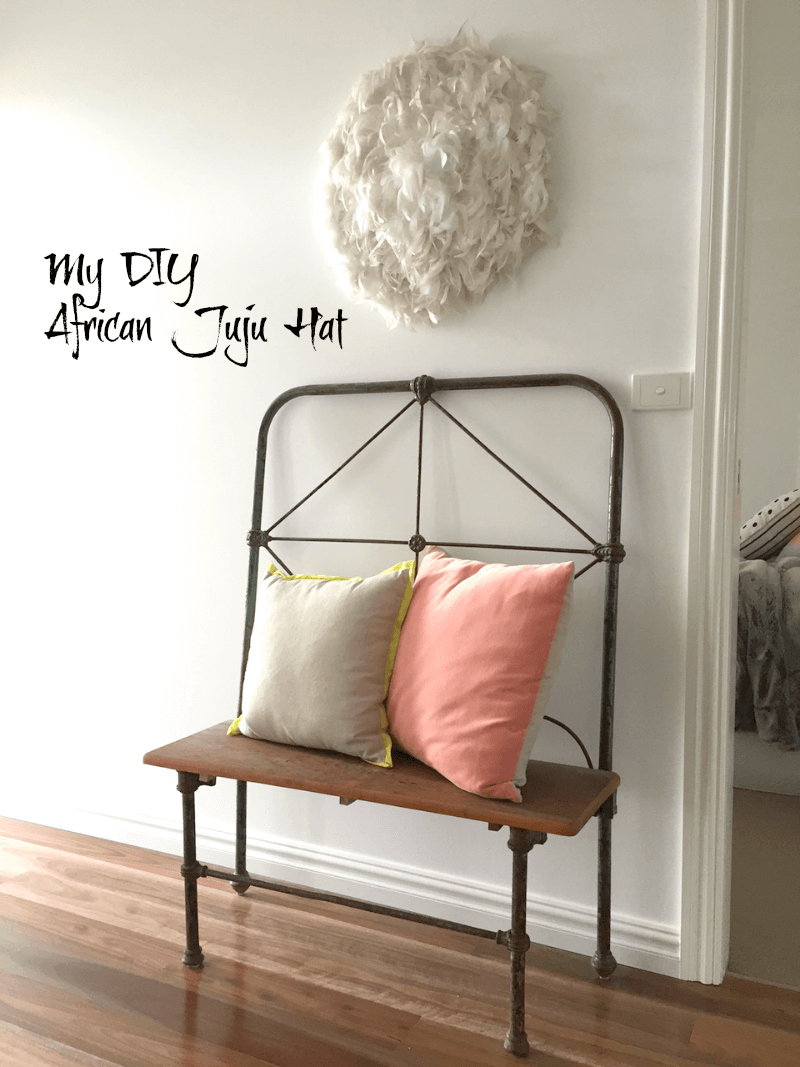
Here’s mine…
The hardest part was finding the feathers. I could buy them from overseas, but these are real bleached rooster feathers, so I needed a certificate to get them in to the country and I wasn’t doing that! Anyway, after a few weeks of searching on and off, I found these.
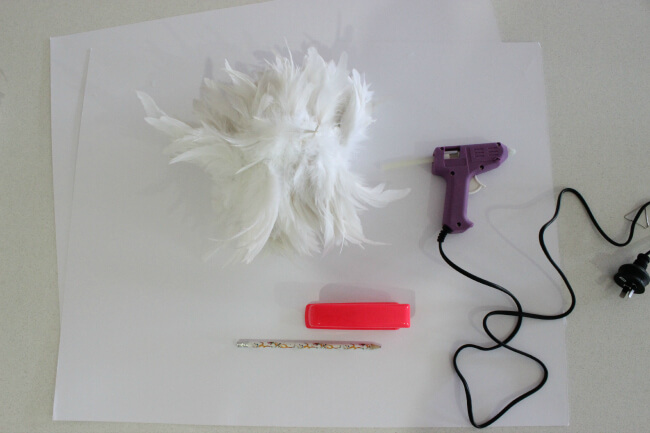
What you’ll need:
- 1 piece of thick cardboard {I bought 2 incase I made a boo boo}
- Stapler, pencil, stanley knife/scissors
- Hot glue gun
- 3 x metres of Coque Strung Feathers {I purchased mine from Feather.com.au. I chose white feathers & they are 130mm-180mm long}

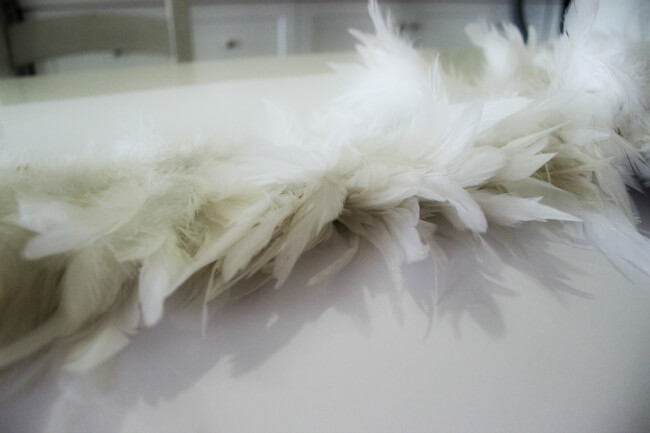
This is what the feathers look like when they are strung together. They are very soft and fragile so you do need to be careful with them.
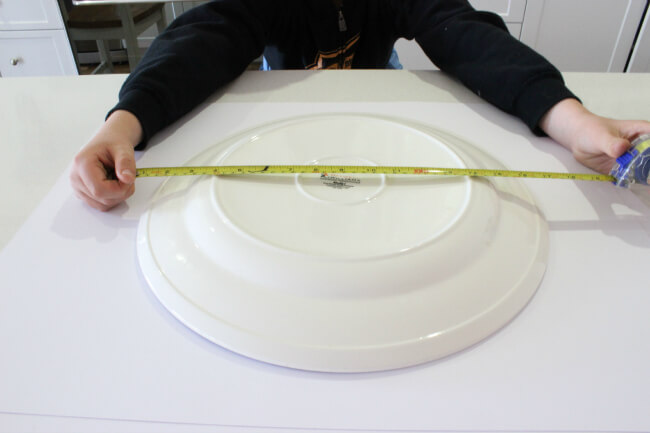
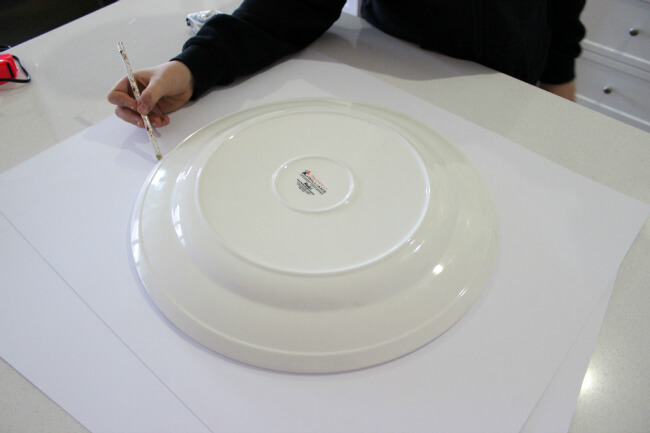
Of course you need to make a circle so I found a platter plate what the perfect size! It was 4ocm in diameter. The finished size will be about 65cm. The retail shops sell the African Juju Hats in multiple sizes and the 70cm ones are roughly $650 to purchase.
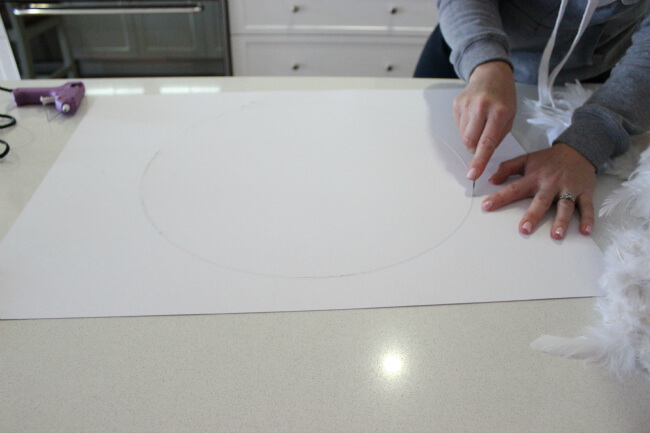
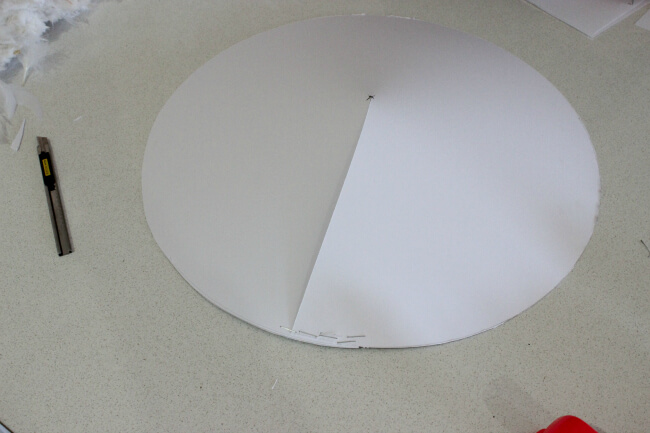
Then we cut around the circle and created a little dip in the shape. So cut a line to the middle, fold it over and staple it together like the photo above. You can make it concave or convex – whatever takes your fancy.
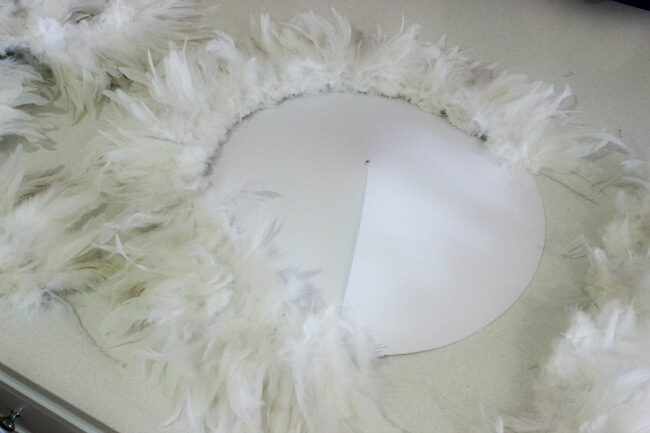
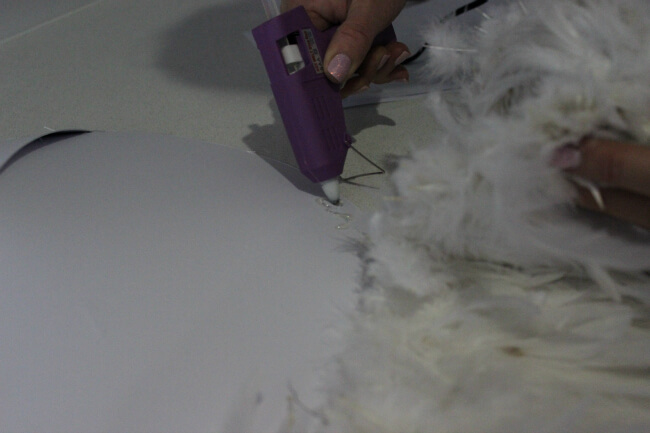
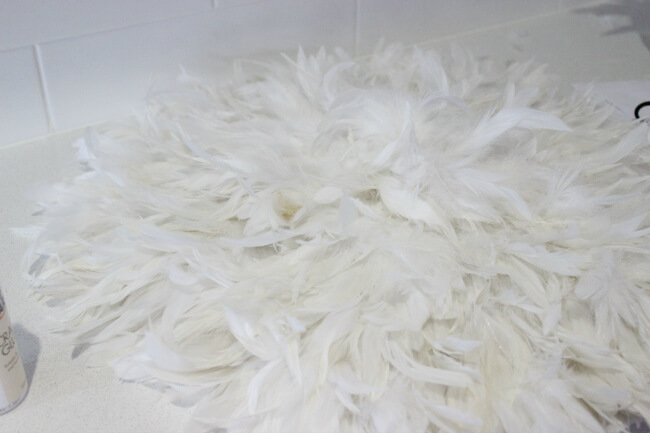
Start glueing the outer row of feathers all the way around. Then I did a second row (about 4-5 cm in from the first row). I then did a very small 3rd row. I had NO feathers left at all, so if you’re following my exact measurements you need to be careful you don’t run out. Order a little extra if you’re not confident.

I found random feathers all over the kitchen because it was so fragile and bits were flying everywhere! I gathered them up and got out the craft glue (not the hot glue gun as it’s HOT and you can’t stick your fingers in the glue to manipulate the position of the feathers) and I started placing them in any gaps I could see.
And here she is!!
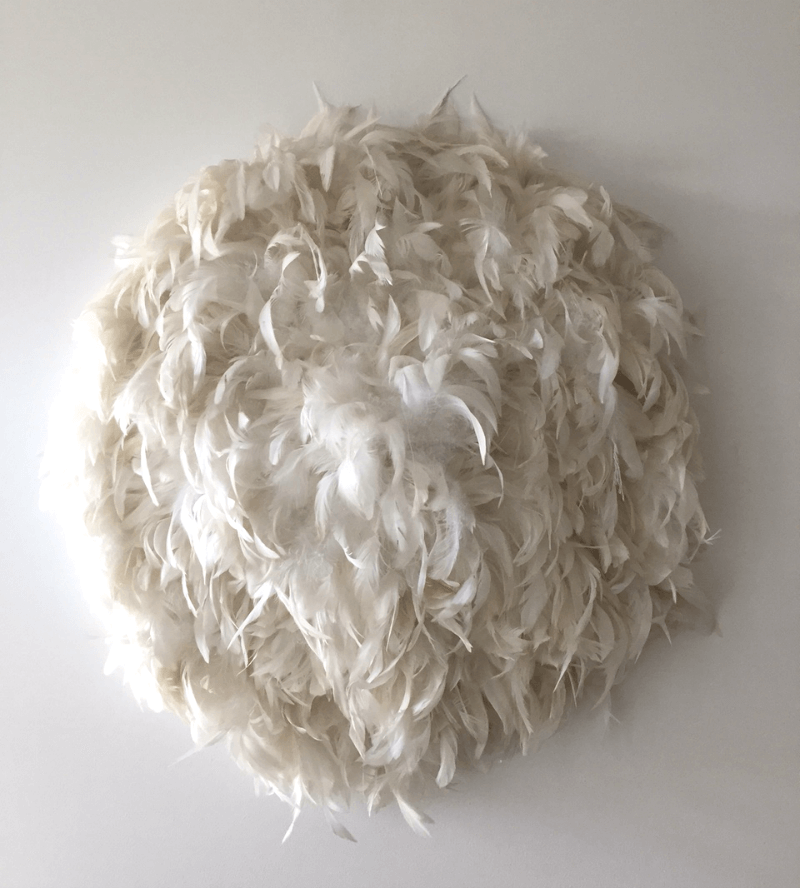
What did this project cost, you ask? Well like I mentioned above, the retail stores sell 70cm ones for $650. My version is 65cm and cost me $180 including the cardboard and glue. That’s a fraction of the cost! I bought the feathers, the glue gun and the cardboard.