
Brought to you by Officeworks.
With Mother’s Day fast approaching (10th of May), I’ve created four DIY gifts that the number one lady in your life is sure to love, and I’ll be showing you how easy it is to make them.
We all love receiving personalised gifts, and what better to reciprocate than to showcase your precious family snaps hiding inside your smartphone or computer.
I used the Kodak Picture Kiosks available in all Officeworks stores – they are a huge help when creating awesome personalised Mother’s Day gifts. Simply head down to your local store armed with your favourite pics on a USB stick, or print them directly through Facebook and Instagram!
Mother’s Day is about celebrating all Mums, so why not give these to your auntie, grandmother, or sister too?
It’s also a fun activity to do with your kids – so put aside an afternoon, make a quick trip to Officeworks and get creative.
I’ll be posting these over the next week or so, so stay tuned, ditch the usual choccies/flowers and try your hand at creating a truly thoughtful gift this year.
Tip: if you can’t spare the time to make gifts this year, there’s a really wide range of personalised photo gifts (coffee mugs, calendars, photo canvases) available through the Kodak Picture Kiosks in-store and online too!
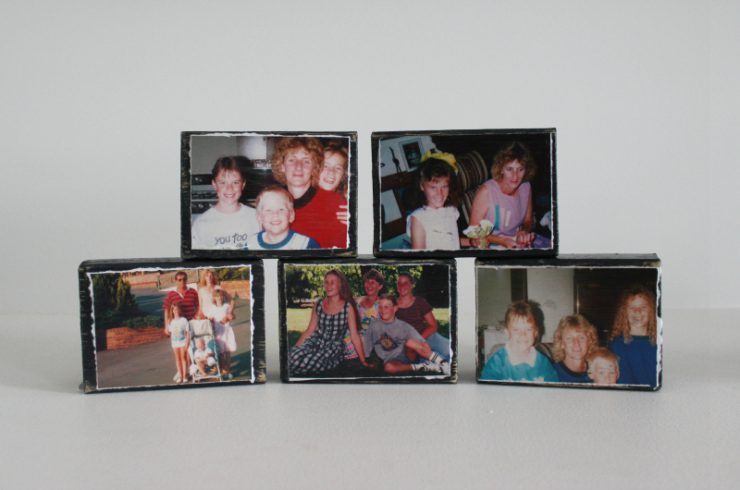
I was inspired to create these after spotting the original Kodak photo blocks at my local Officeworks – these look super sleek and would make great gifts too. If you have a bit of extra time, try your hand at this DIY version.
For this project I asked my Dad to scan me some old photos out of the albums at home. Oh I loved looking at these. Such fun seeing us all back in the 80s as a family. My Mum is going to love this gift!
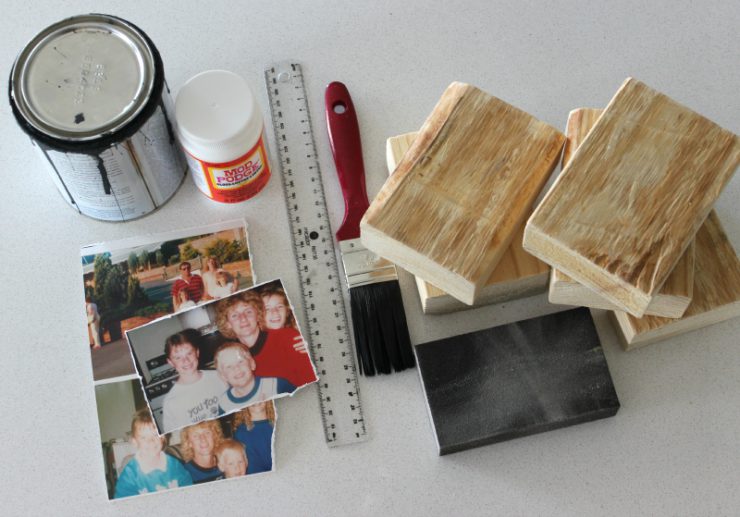
What you’ll need:
- Photos – pop them on a USB stick or print straight from your phone using pictures saved to your Facebook or Instagram. Then head to Officeworks and use their easy Kodak Picture Kiosks in store. Pull up a seat, use the touch screens and within minutes you’ll have your photos. I only needed 5 photos so it cost me less than $1 to have these printed up.
- Blocks of wood – I cut up a piece of timber using the drop-saw at home to fit the size of my photos, but any hardware store will do this for you! The timber was an off-cut and cost $1.70.
- Ruler
- Sanding block
- Paint
- Decoupage glue
Step 1:
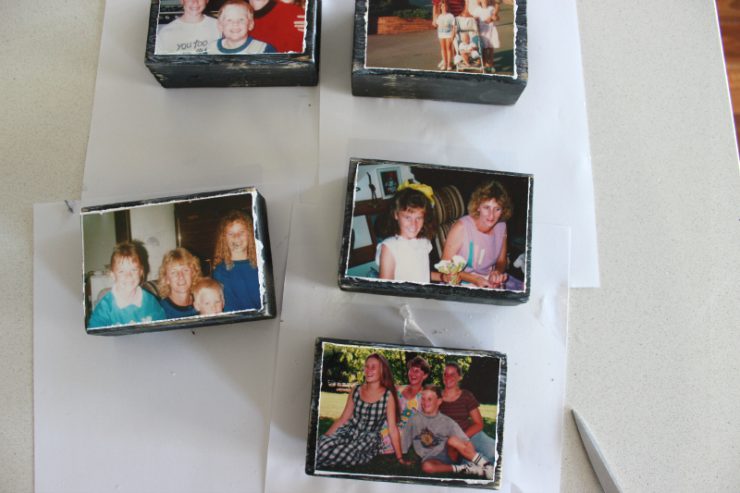
Rip the edges of all of your photos to create a worn and messy look.
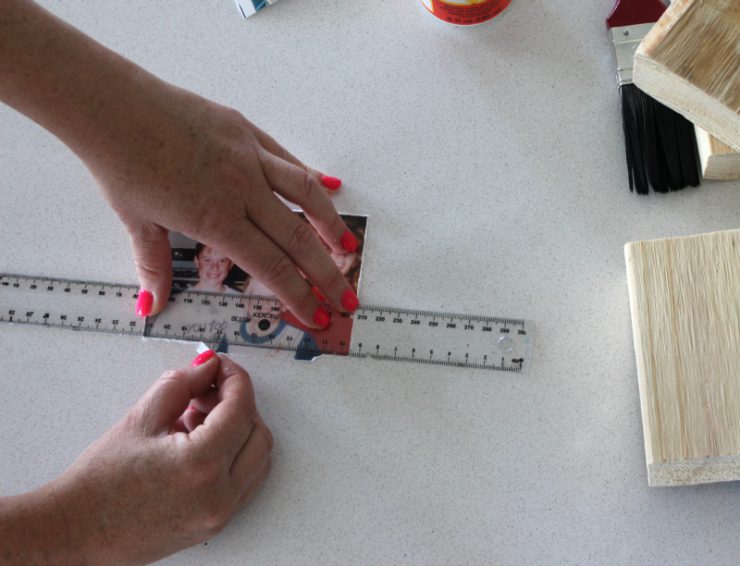
Step 2:
Check the photos will sit neatly on the blocks.
Step 3:
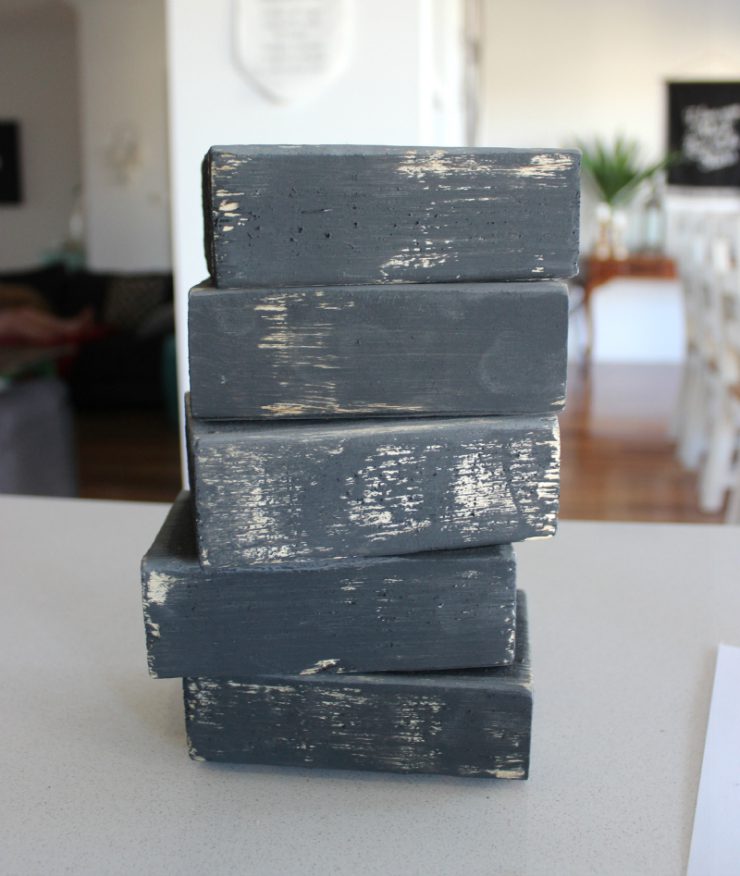
Paint the blocks of wood in your desired colour. Don’t be too fussy with the neatness. Just slap the paint on.

Step 4:
Sand the edges of the blocks to make sure they don’t have any splinters sticking out.
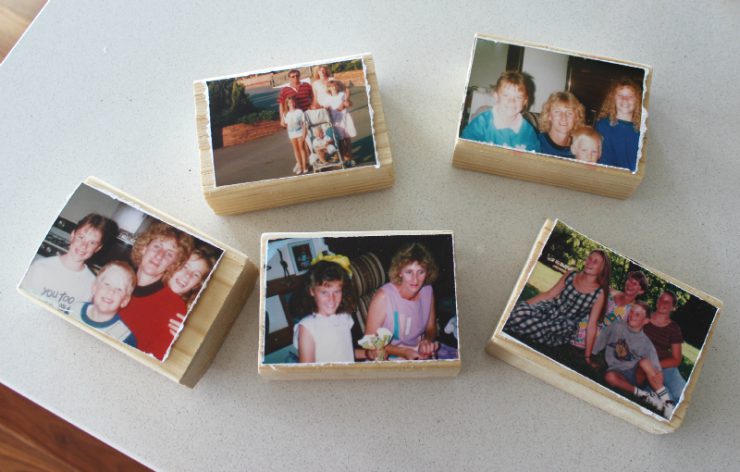
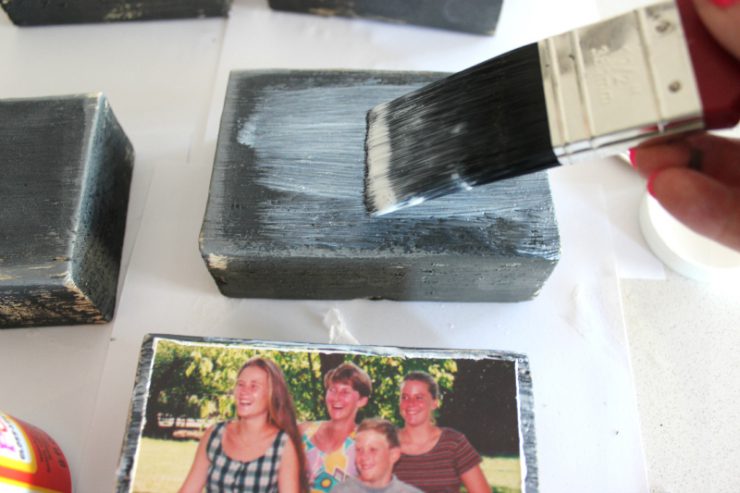
Step 5:
Coat the block with the decoupage glue and stick the photo in place. The reason I have used this product is because it dries clear and is an all-in-one glue, sealer and finish.
Step 6:
Let the photos dry for a few hours. Then use the glue again to coat the entire block all over. It goes on white like thick glue. After a few hours the glue dries clear and gives you a lovely satin finish.
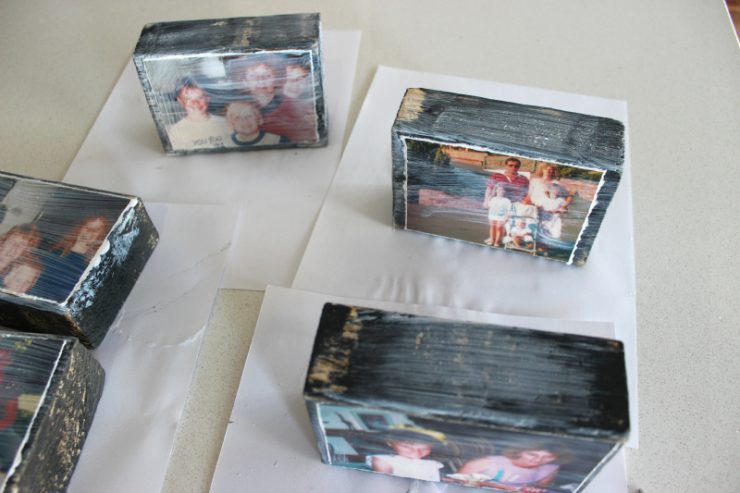
Taaa-daahhh!
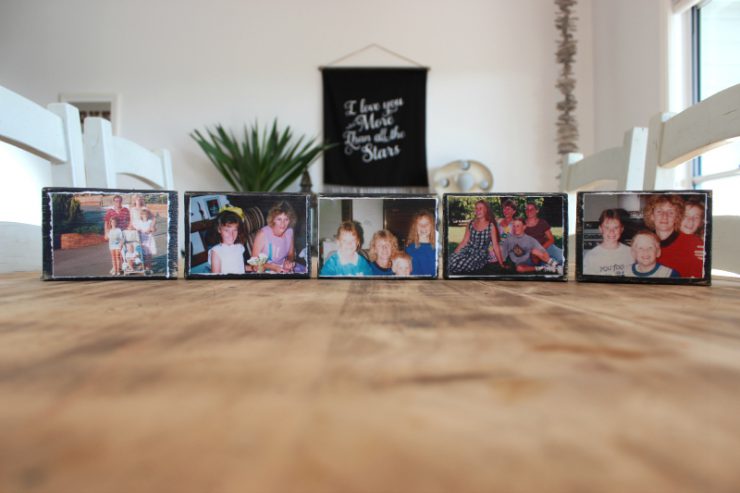
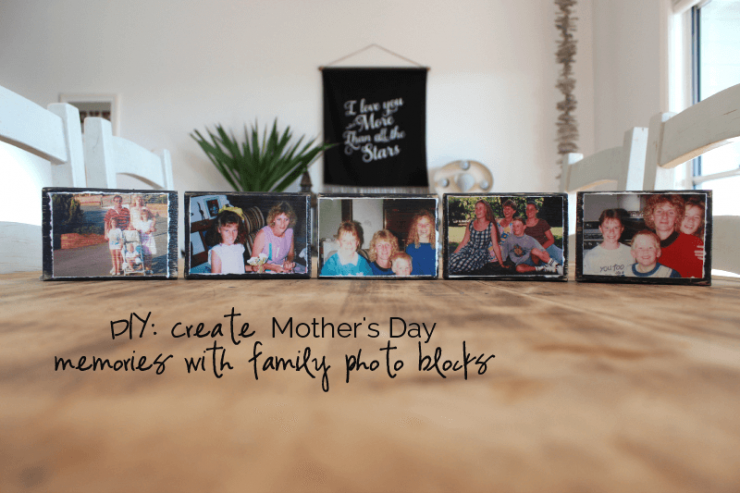
Here’s a beautiful gift to give your Mum on Mother’s Day. With some simple off-cuts and a few photos you can create your own personalised row of photos to sit on a shelf or sideboard. It’s super easy and inexpensive.
Happy DIY-ing! ♥ KC.