
I’d been wanting to fancy up this feature wall for a while but there are never enough hours in the day! Last weekend I finally got one of my kids to make this wall for me. He’s just about to head in to his second year as a carpenter apprentice, so this was an easy job for him.
The wall was already painted back (so there’s a tip – make sure your wall is painted first because it’s much easier down the track).

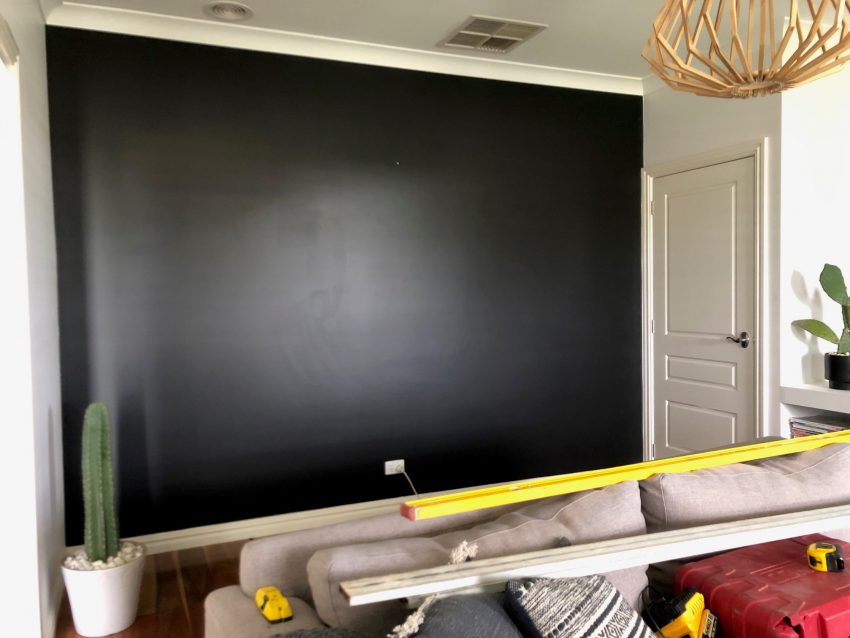
The wall only involves good measuring, some timber, nails, glue and a level.
It’s very easy!
I drew the layout on a piece of paper first so I knew what I wanted before we got to the hardware shop.
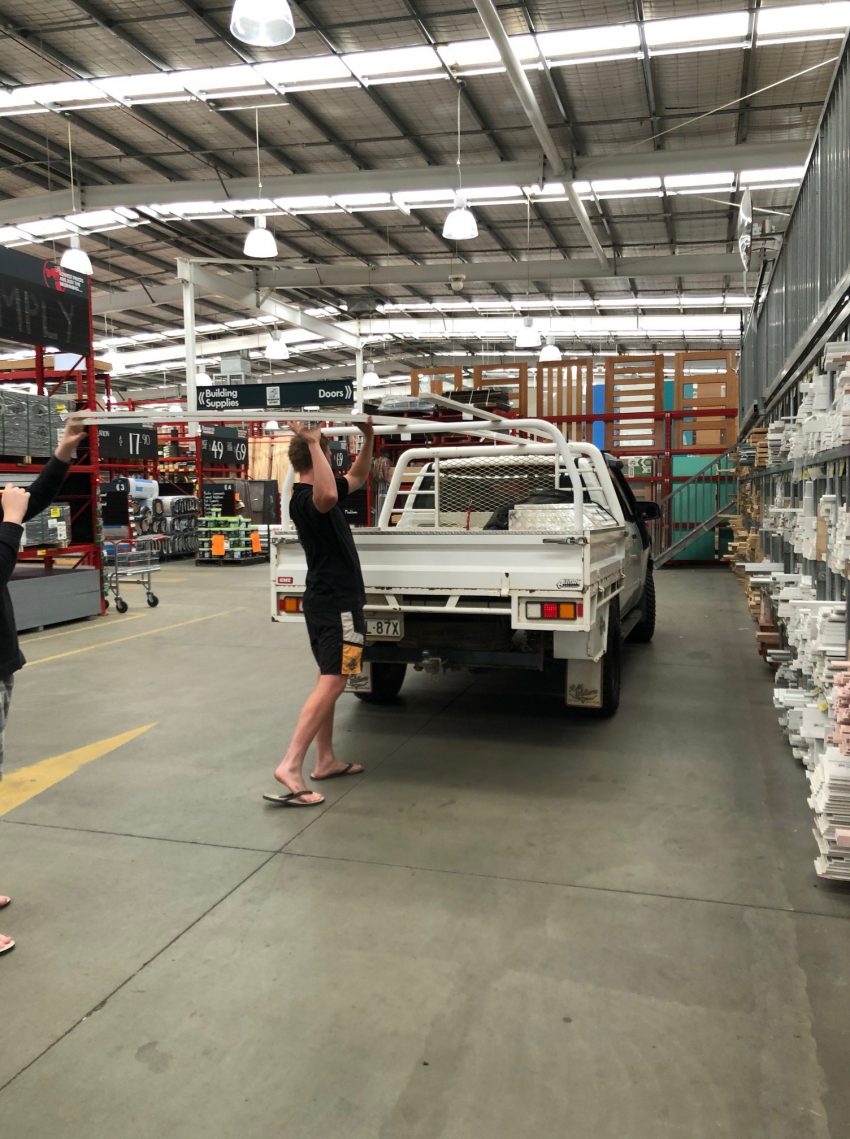
He loaded up all the timber. We cut them to size as home.
All up it cost be about $110 in timber, some no more gaps and then 2L of DULUX BLACK ACE in paint.
Here’s some steps we took
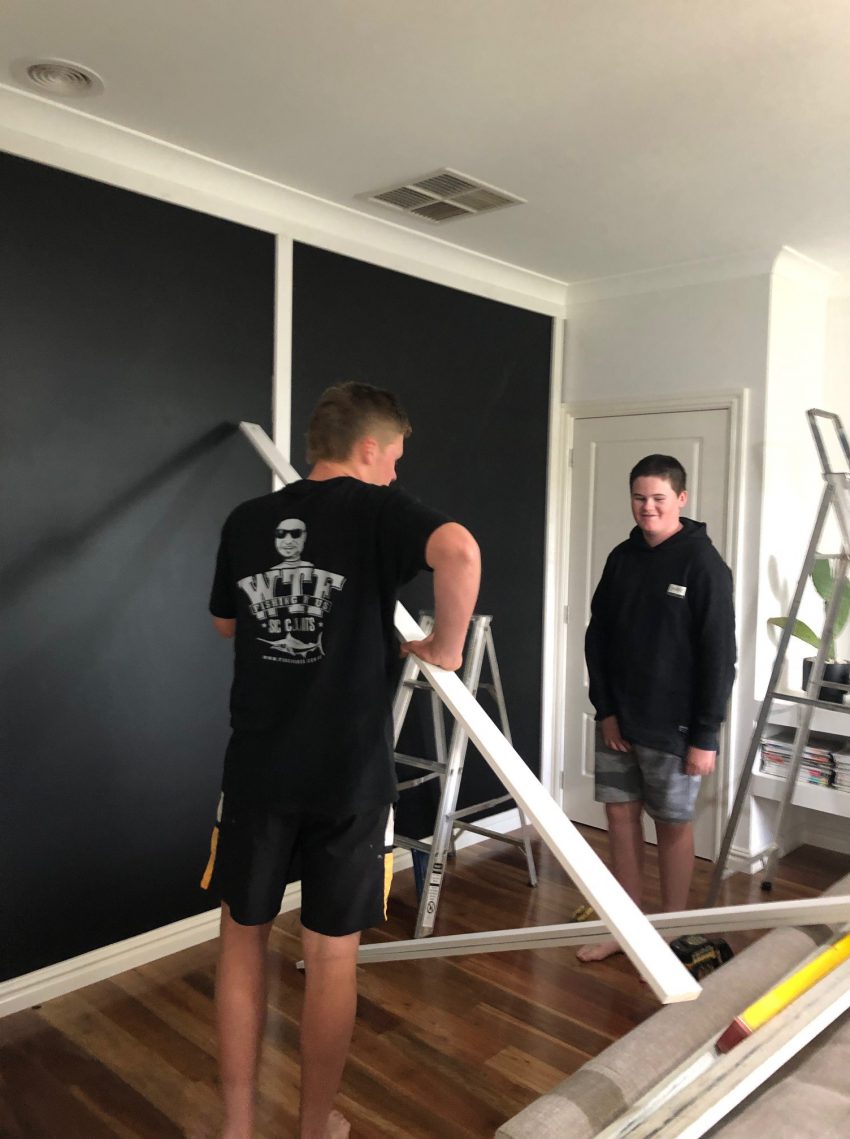
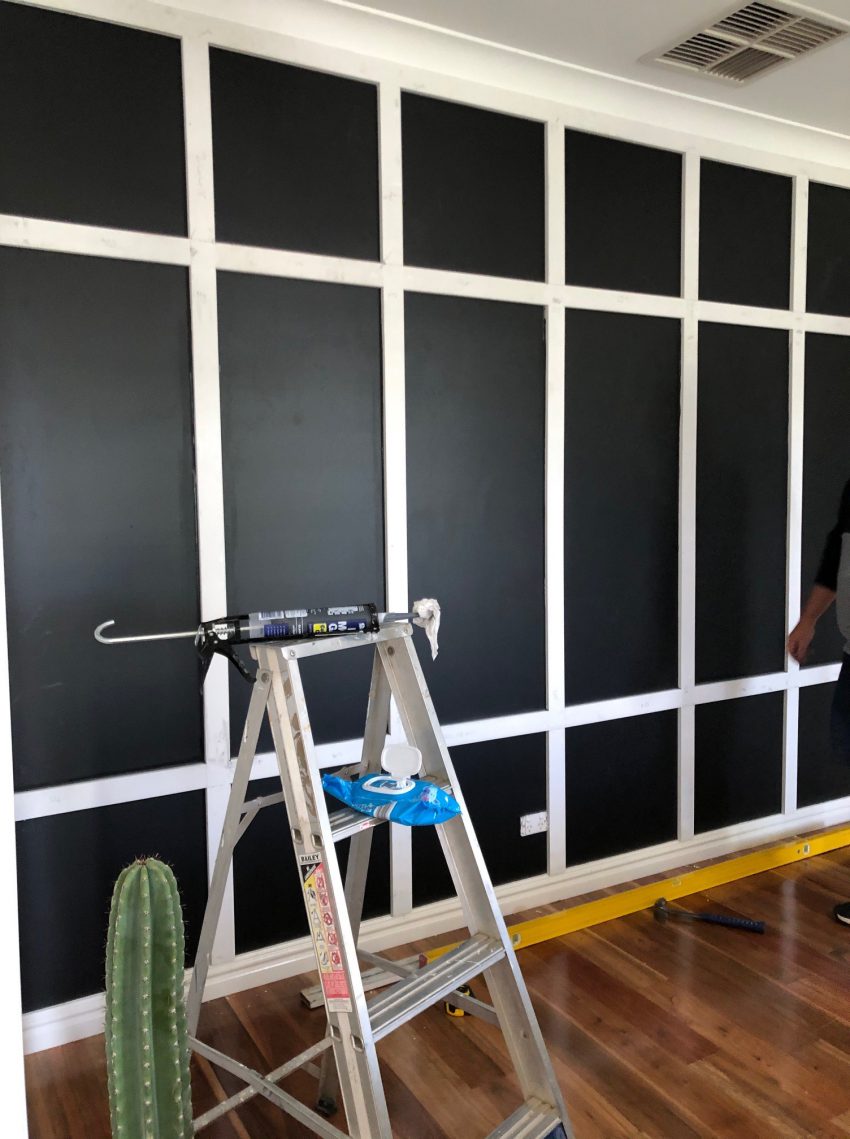
- Frame the top and sides first (don’t do the skirting, the timber will just sit on top vertically).
- Evenly space the vertical pieces across the wall. We know there are studs 600mm apart, but that wasn’t going to be perfectly even and they were a little too wide). So we opted for about 520mm apart.
- We used liquid nails to secure and a nail gun to shoot it in to the wall (finding the studs where we could with a stud finder). However, the glue will hold them.
- We then added the horizontal pieces. I opted for squares top and bottom. You can have any pattern really. My husband wanted squares everywhere but the measurements wouldn’t be perfect and I didn’t want it to look like a checkerboard.
- Then putty and sand any nail holes.
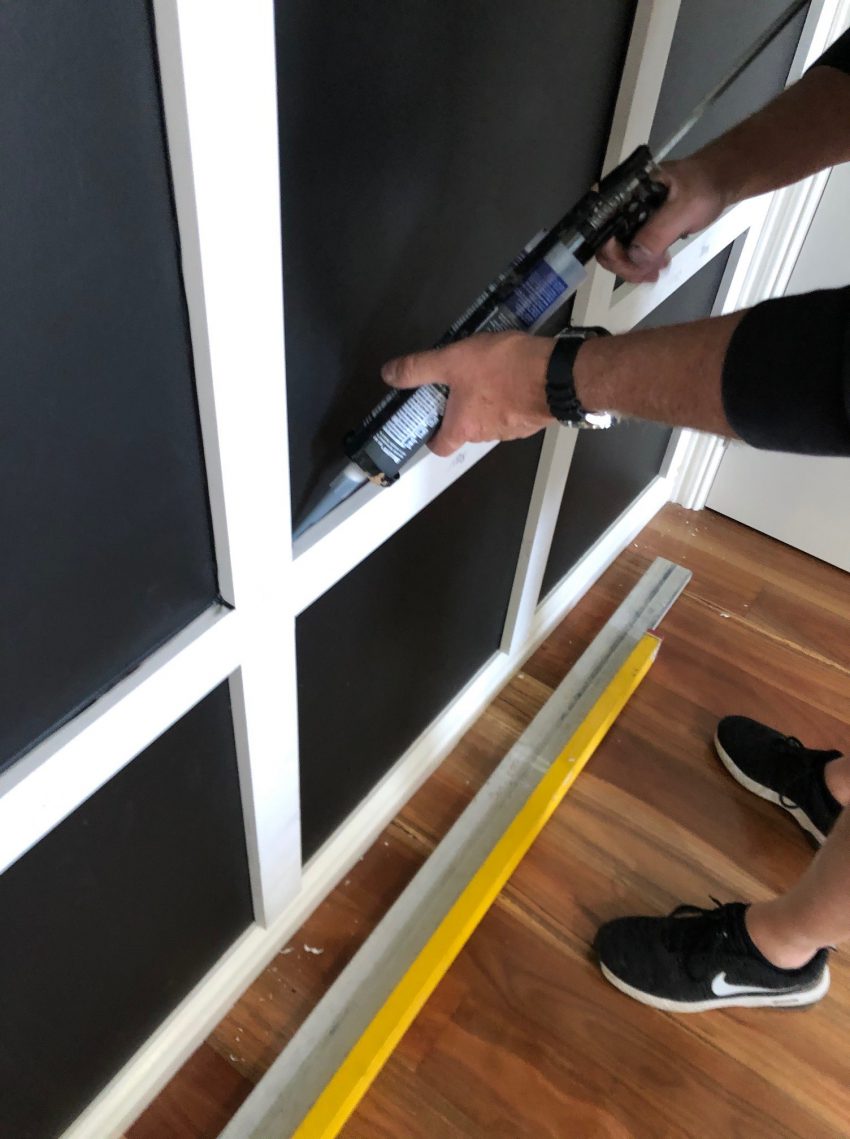
- Fill all around each batten with no more gaps. This wasn’t the best task! But you won’t be sorry you did it when it’s all done.
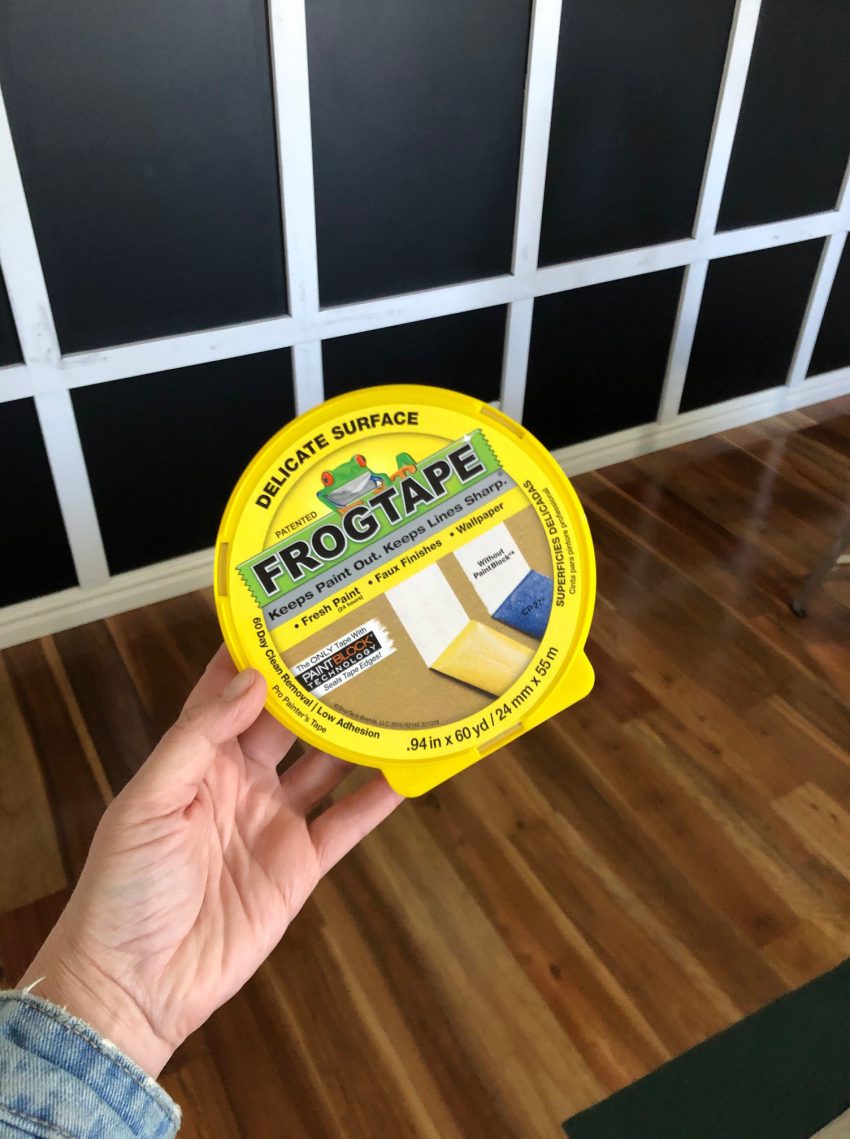
- Get ready to paint! Mask up your edges and then cut in and around everything. Then I used a paint roller to finish it all off.


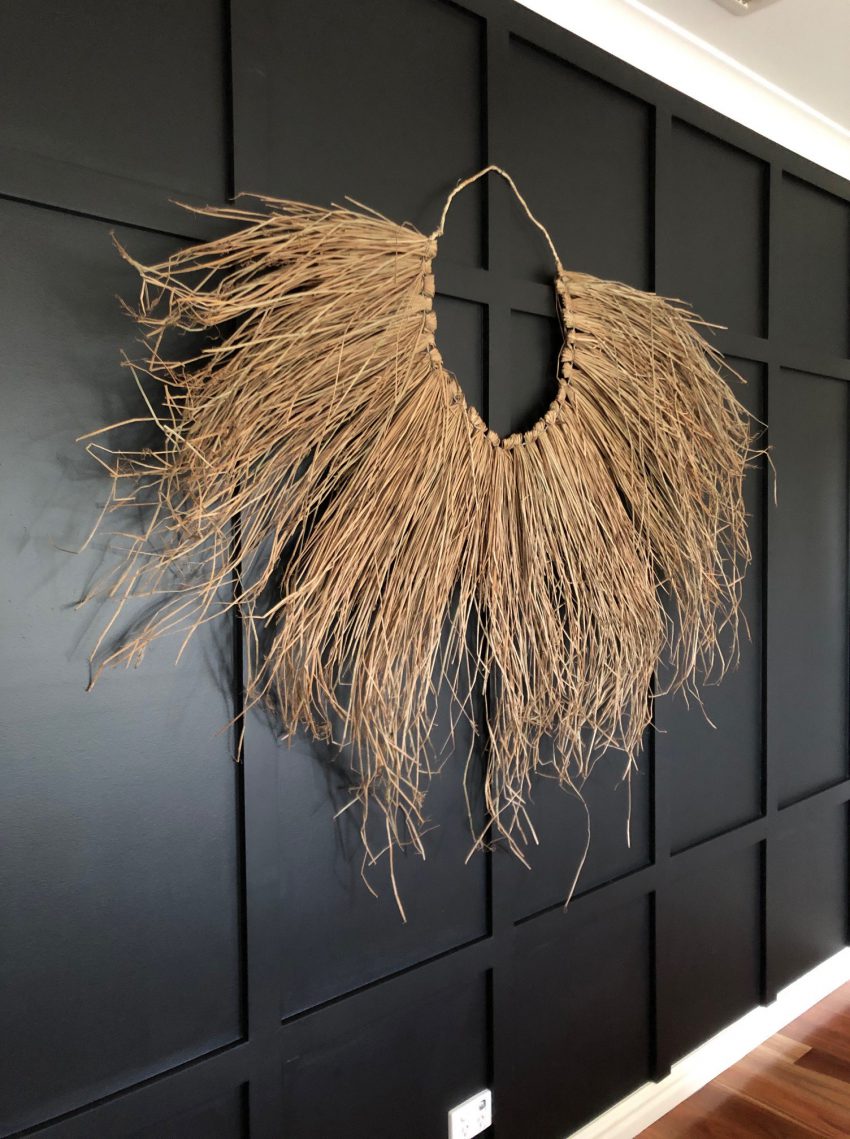
As you can see, it’s come up a treat! I am so happy with it now.
I will say even though this is a very easy job, it was time consuming with filling the gaps and then the painting. But if you have time, then it’s definitely worth it!


Watch this time lapse video so you can see it all coming together!
View this post on Instagram
♥ KC.