
Hiya! Ok, here we go with another project! This one has been going on a while in the background and finally I have a couple of decent photos to show you. It’s not quite finished, maybe only 85% there, but I am really happy to say it’s coming along well!
Here’s a before…
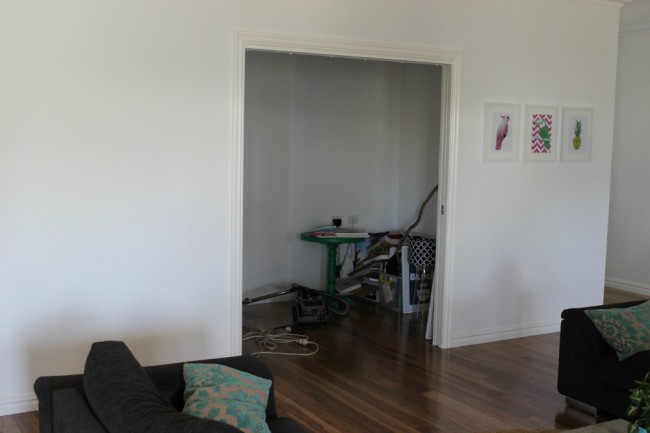

Nice hey? hahaha… So, as you can see below, we finally have part of the home office built! My husband and I did it all…
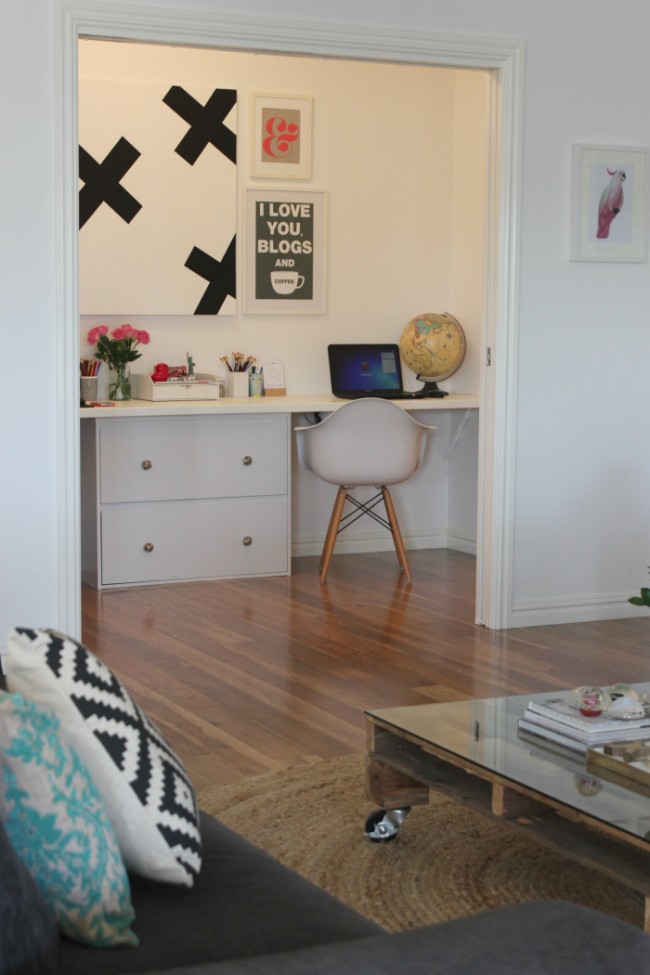

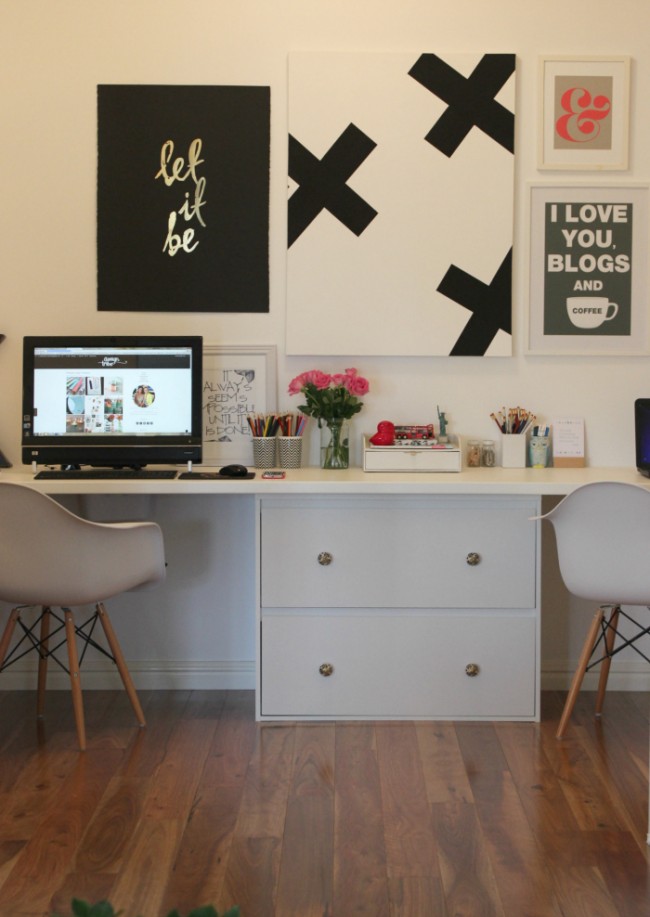
At this stage you can see 2 work spaces. We actually have 3 on the return (photo below), and I’m really happy! The desk is a laminate benchtop. We measured the back wall (it’s big – like 3m) and then got a corner piece cut. We got it all from Masters (not sponsored!). Just walk in with your measurements, pick the laminate and they’ll cut it all. It was very heavy, but we have a ute so we could bring it home. Should have seen us trying to get it IN the house! LOL.
The filing cabinet is from Officeworks (not sponsored!). We needed that to hold the bulk of the weight. I bought cute little handles from ebay to jazz the front of it up. You’ll need to find the studs in the wall to mount brackets. We knew where most of them were and we have a stud-finder too. Wasn’t hard, you just need to have brackets that will hold the weight and attach them correctly.
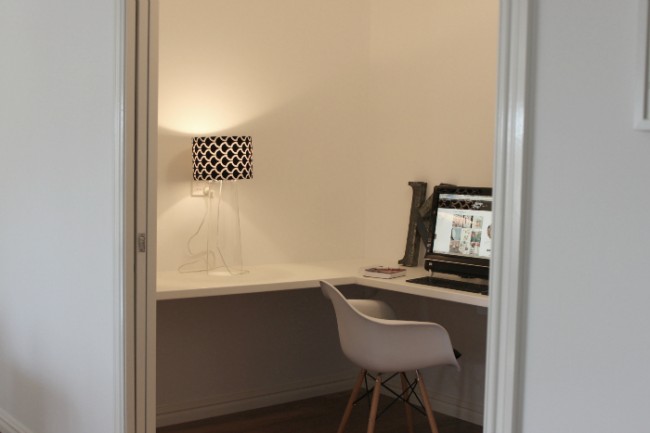
Above is where you can see the 3rd work space. I need to work on that area! I’m thinking of a stool and shelving? Maybe? What do you think?
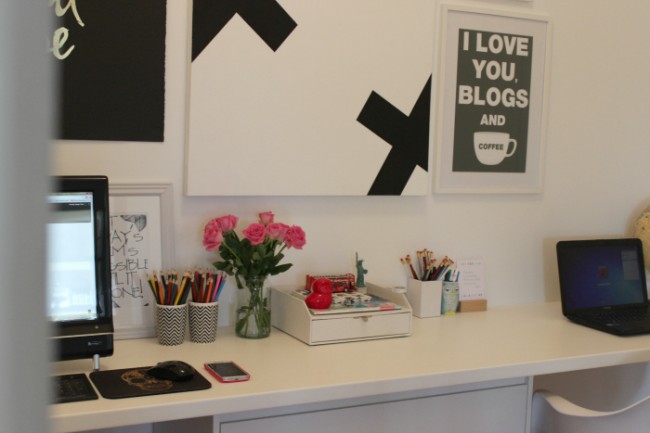
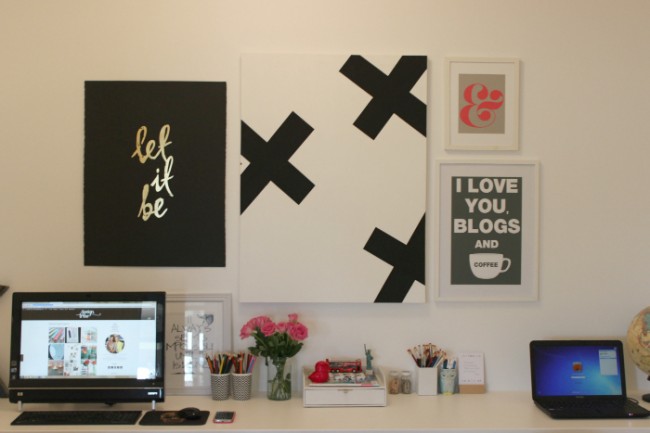
The original plan was to go with overhead shelving. But then after the desk went in I really got a feel for the space and the shelves would be too long, with brackets showing and I was afraid it would end up full of junk. So I had some cool artwork and decided to hang that and see what I thought…. yep, it’s staying. You see, this room is in the middle of my house. Right in the centre. You can see it from everywhere, so it also needed to look neat, fresh and blend in with the rest of my styling. I buy what I like, I don’t think about it too much, so it all gets mixed in together!
See the above photo – I thought I was clever with this… I can’t stand cords. I don’t think you’ll ever see a visible cord in my house. So we drilled a hole in the benchtop (you need a power drill and a hole saw bit) and tucked the cords through. I had the power points put under the bench before we moved in because I knew I’d be having a desk like this. The little white buckets are shower caddy’s. You can’t see them unless duck down! The chairs cover them too. Perfect solution to cords! Plus we’re pretty wireless here – wireless keyboard, mouse etc.

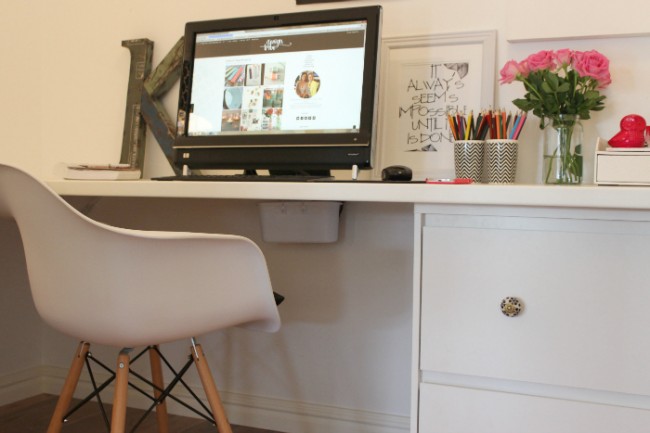
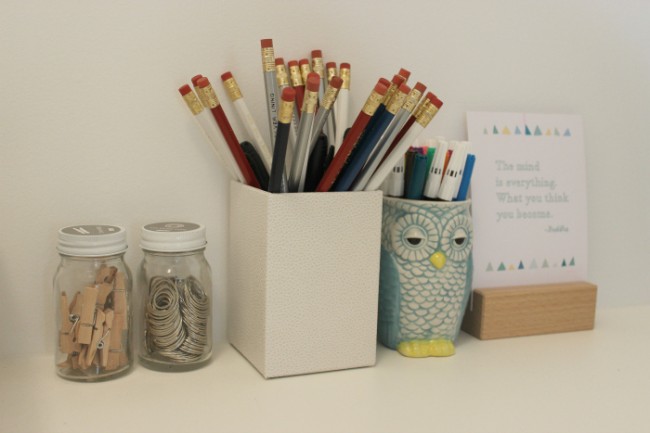
Here’s the storage on the right. I had that cupboard built in so it’s seamless, but holds all the office stuff you need!

See, centre of the house. We can close it off with the double doors too when it gets a little noisy or messy. The kids use this space too! It’s for them as well – that’s why we have 3 work spaces.
There is it! The start of my office! I hope to have that 3rd area finished in the next few weeks…. hmmm then what will my next project be? Ah yes, a lounge room I have been dying to get shelving in to!
KC.
PS. I already have emails about the pallet coffee table in the photo. There’s a tutorial on that here. 🙂