
Brought to you by People’s Choice Credit Union.
There’s been a job around my house that’s been bugging me for a long time… My home office is very dark and I have been saying the word “skylight” for too many years. I really wanted to lighten up the space. I work a lot from home so I was getting sick of feeling like I was sitting in the dark with a lamp on. Thanks to People’s Choice Credit Union I have finally been able to make this little makeover happen! Their personal loans start at $2,000 which help finance DIY projects now rather than having to wait and save.
Check out what I did and how I made it all come together…
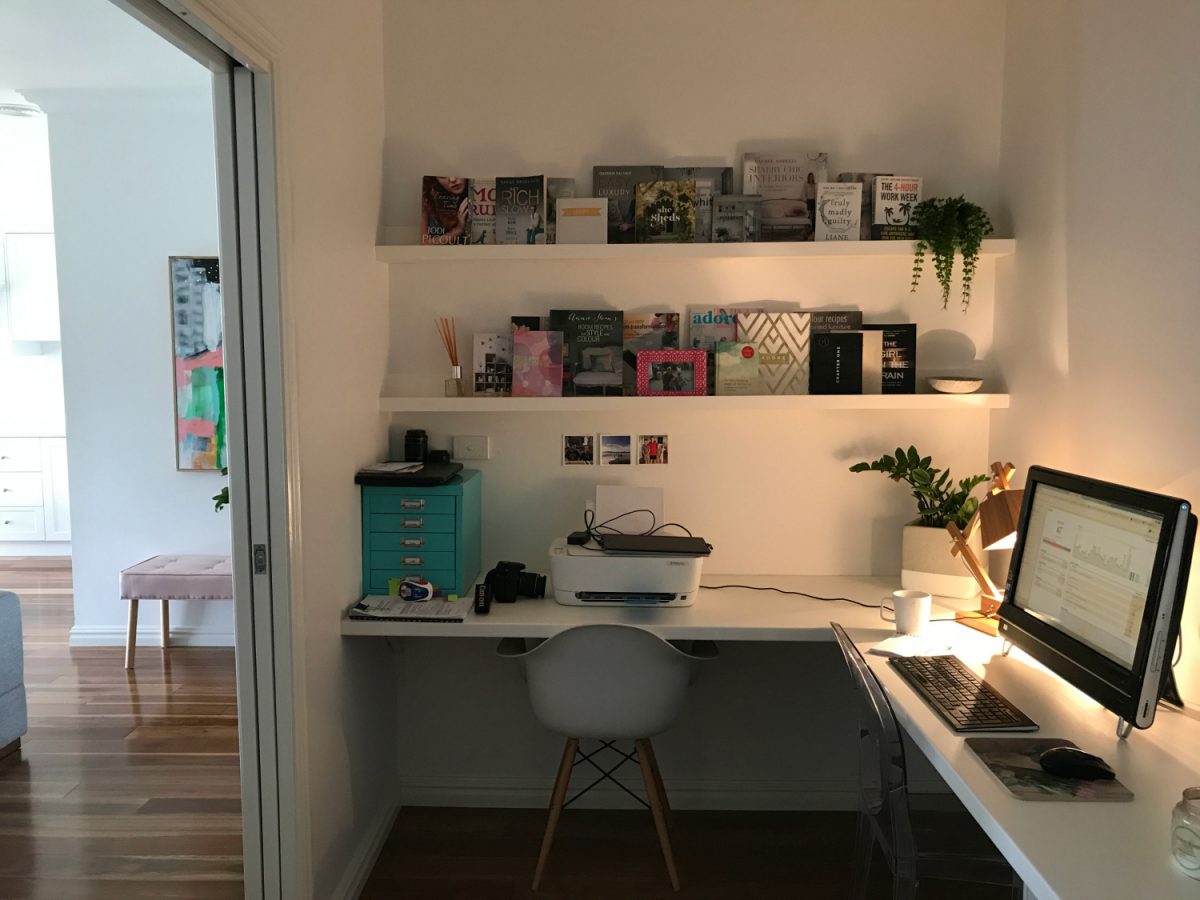
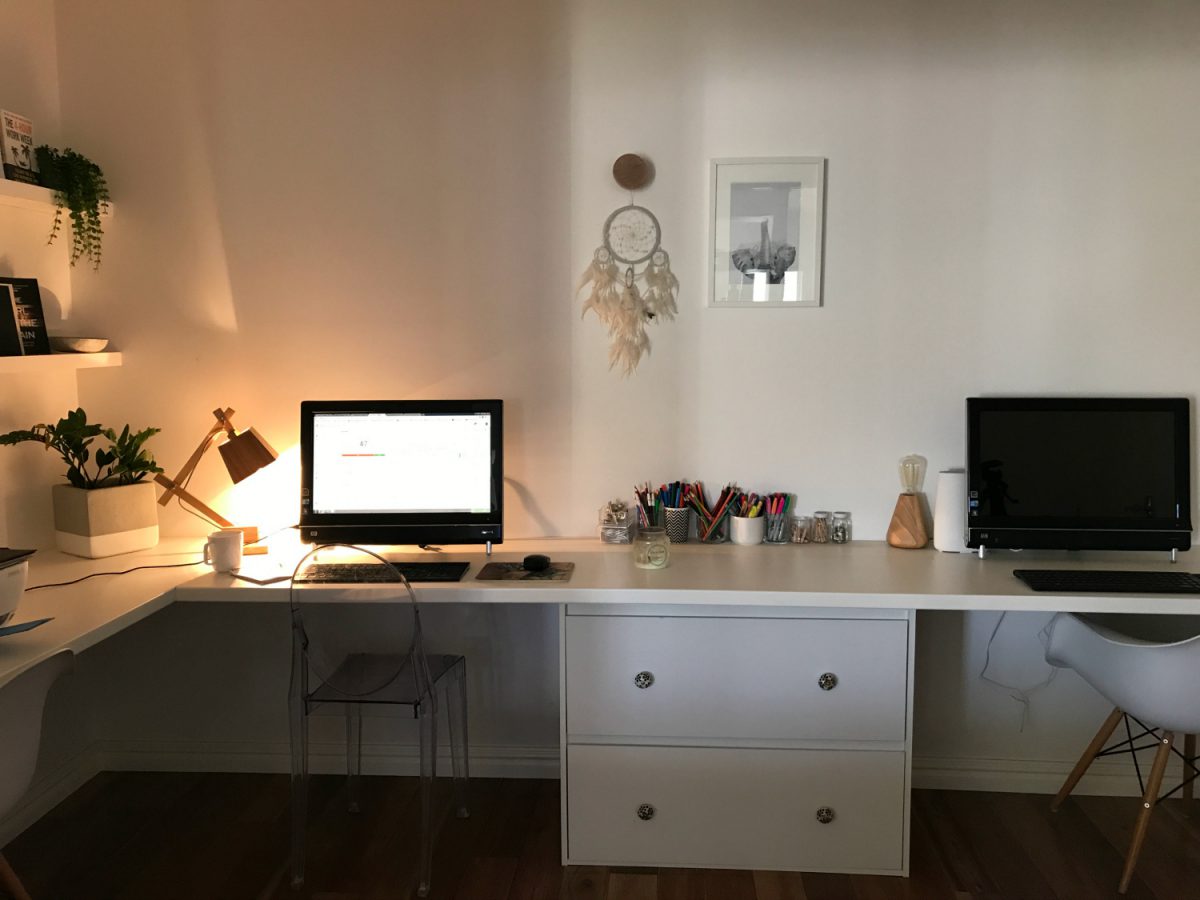
Above are the before photos. The space needed a good freshen up. I put the shelves in on the left a few years ago as a quick fix, but I really didn’t like them. The best way to fix this room up was to strip it all back and start again.
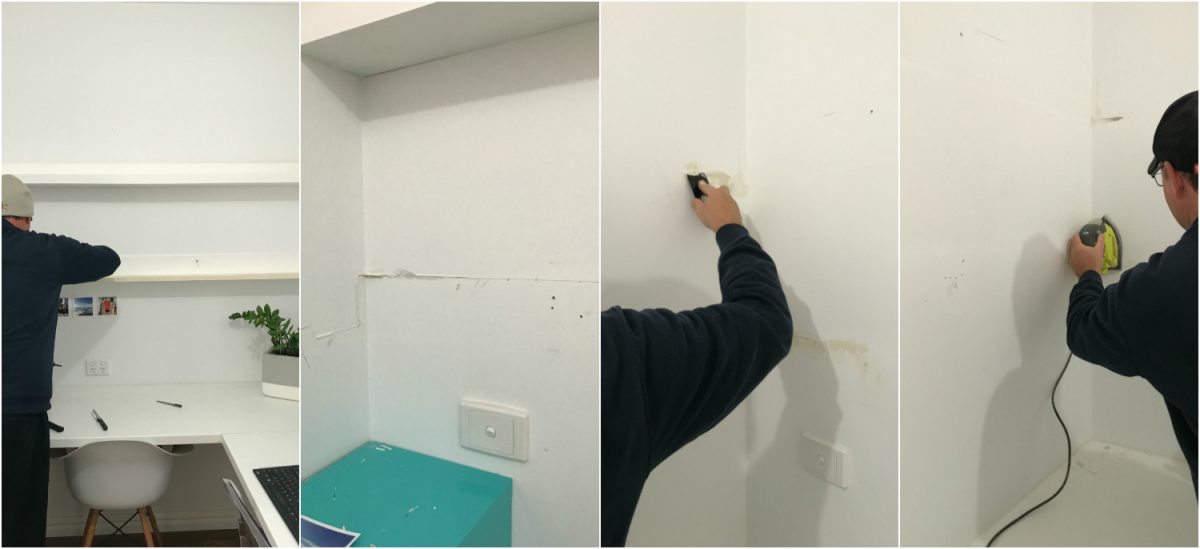
My husband is always up for a project and was eager to help. He ripped down the old shelves, patched up the wall and sanded them back to smooth again.

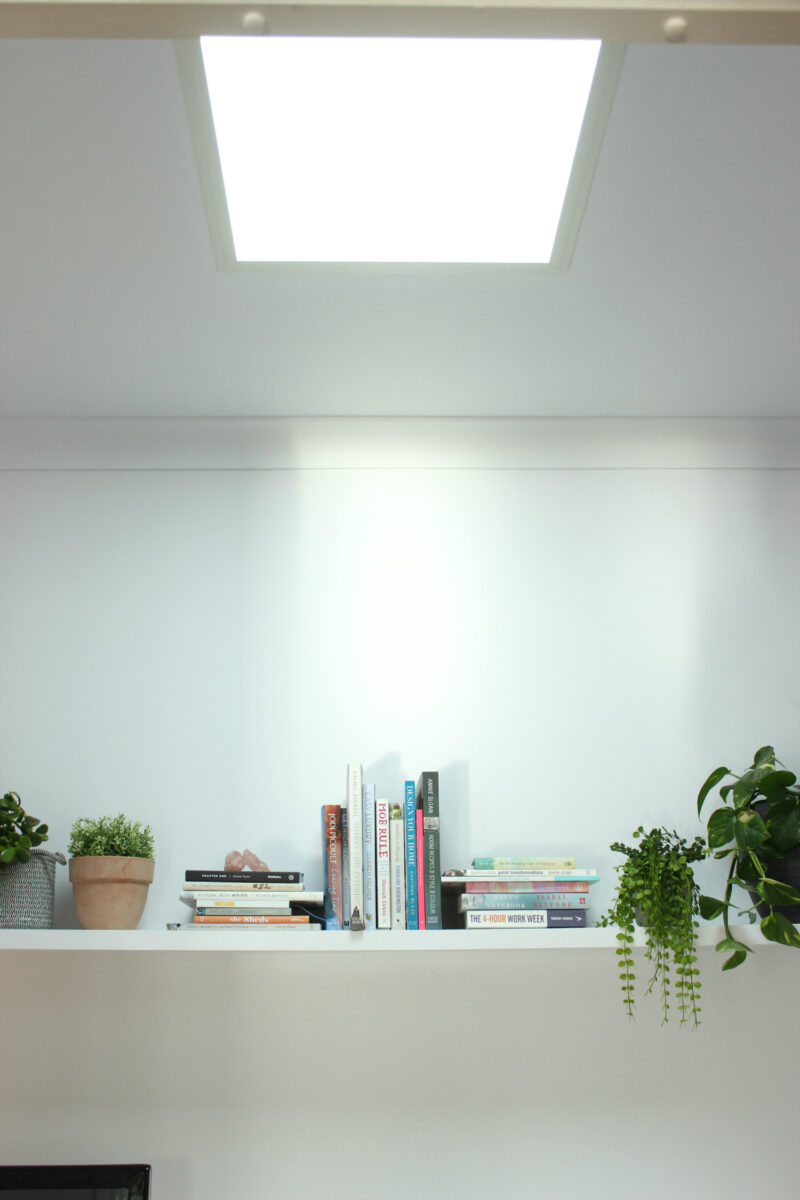
Next I purchased a Shaftless Skylight by a company called Illume. I had researched this product within an inch of its life and my friend has 3 of them in her house so I knew it would work. I bought the 600mm X 600mm white edge for $480 including postage from eBay. Bunnings sell the smaller ones which would be great for bathrooms and hallways.
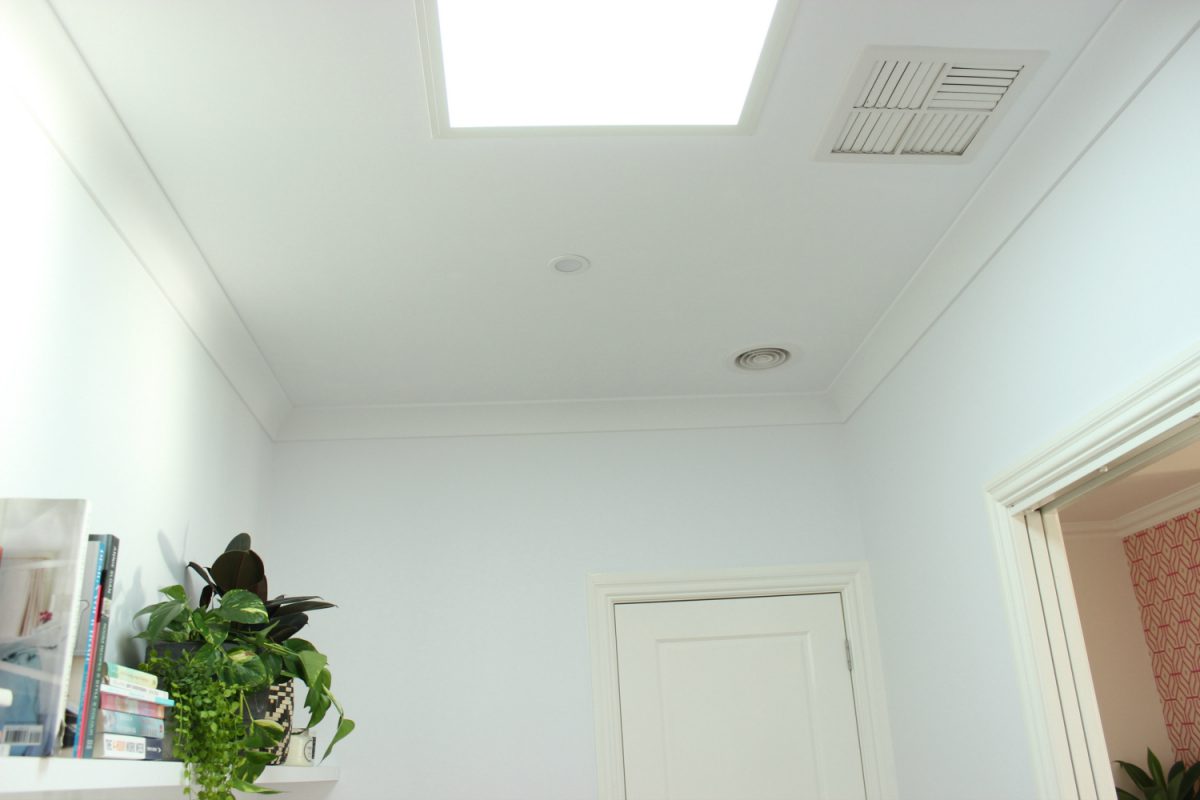
I wanted it in the middle of the room but the existing light fitting was there. We got an electrician mate to move this for us and put 2 downlights either side of the new skylight. I also wanted a new shelf to run the entire length of the back wall. Visually this would be so much better than shelves sitting to the left.

What is a shaftless skylight?
- It’s DIY – this was appealing because it meant the price would be kept right down for this project.
- There’s no shaft – so no worrying about roof height, leaking issues or tricky installation.
- It works via a cord. You install the light panel in the ceiling of your room, then jump on the roof (my husband did this one!) and place the solar panel in position where you’ll receive most of the sunlight during the day (it’s as simple as screwing it to the roof), then connect the cord between the solar panel and the light panel.
- The light will then shine on through!
- I will point out it’s not natural light as such coming through (hence no shaft). It’s more of a light source (maybe like have a big fluro light turned on).
- It will turn itself on and off depending on day/night.
- It’s less bright on a cloudy day and brighter on a very sunny day.
- Installation time was maybe half an hour (once the hole in the office was marked and cut).

Next the entire room would need to be repainted because we’d now fixed up an existing wall and the ceiling. This was my job… I always get the painting gig haha (although I convinced my husband he was better at the ceiling!). This colour is Dulux White on White. I must admit I don’t love the paint colour. I like it and it will stay, but it’s a little grey/blue for my taste.

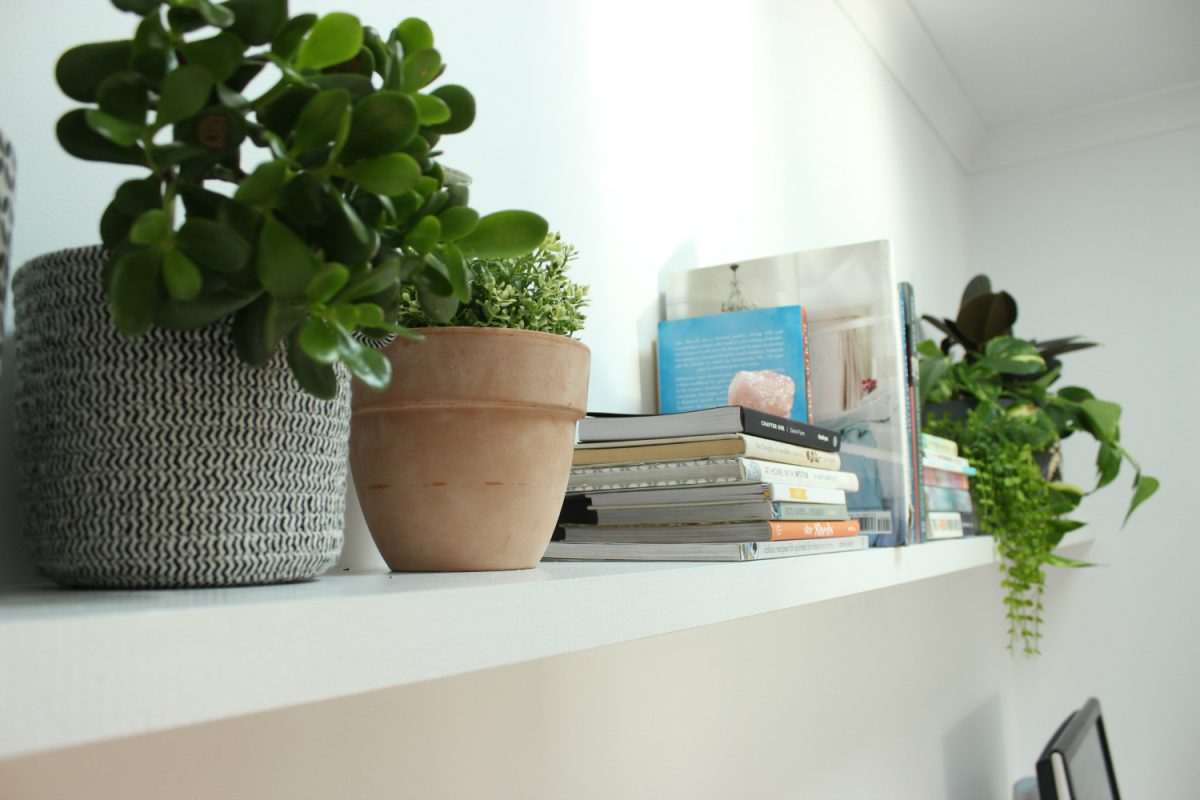
Here’s the shelf I added. This was hard to source! That back wall is 3.6m long and the regular Bunnings only have pieces up to about 3m long and they were too thin (like 19mm). I wanted it to be thicker (over 30mm). So after a few trips around town to different hardware shops I ended up finding a piece. It was dressed pine ready for me to paint in a white gloss. It was $77.
We found the studs in the wall with a stud finder (best tool ever), used all 3 children to hold it in place and we used L-shaped brackets on the top to mount it to the wall. I have concealed them with plants/books.
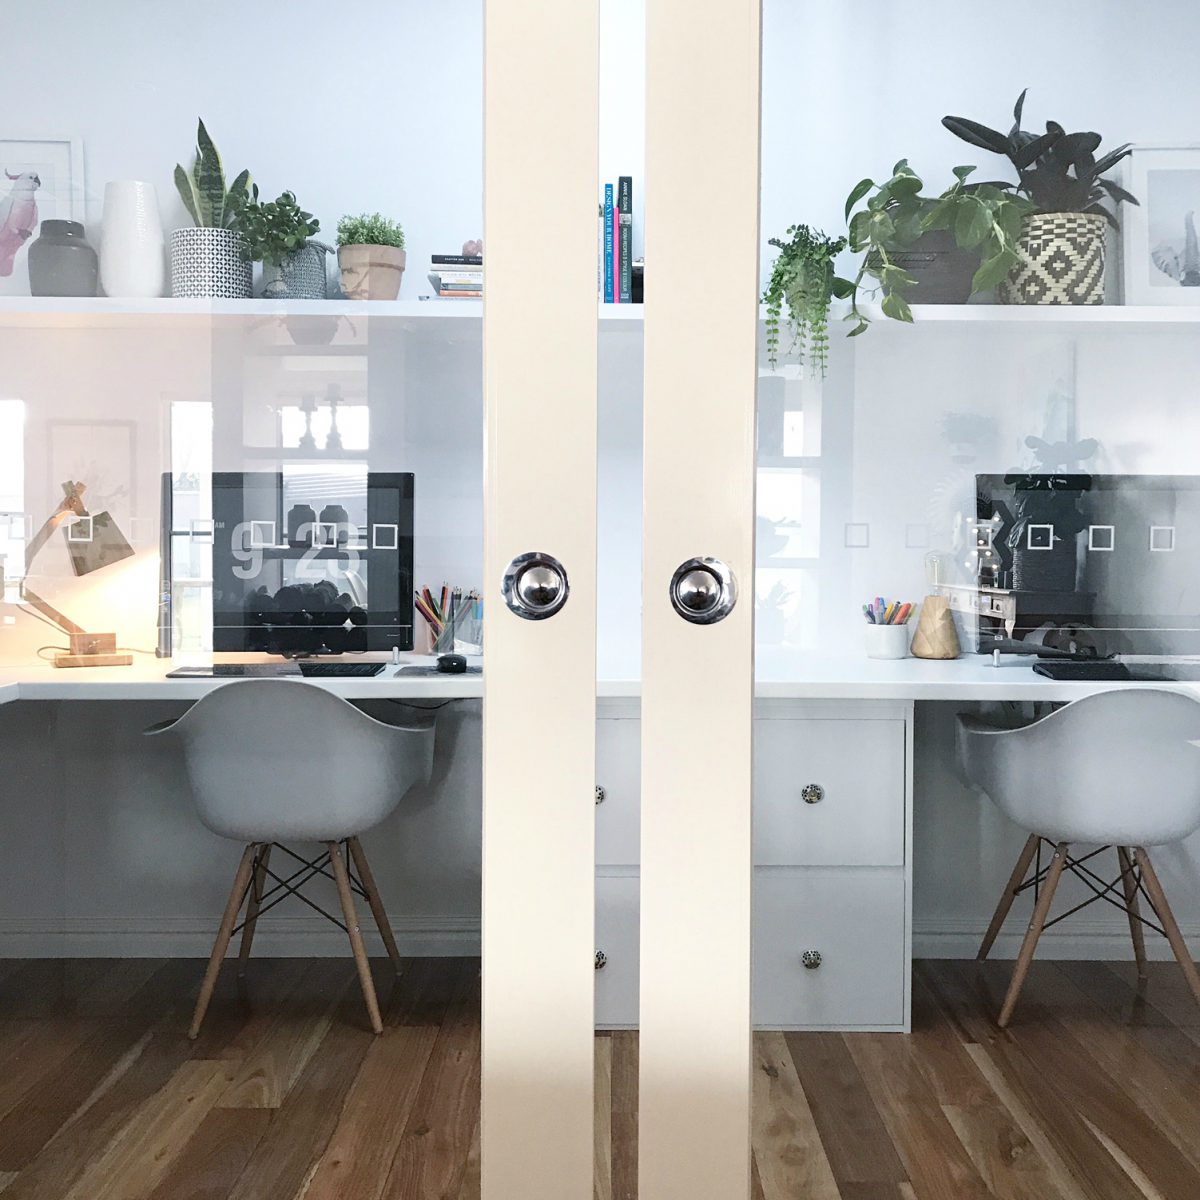
The desk was also a DIY project we did 4 years ago when we first moved it. It’s a kitchen laminate benchtop. That project probably cost around $350.
The wall to the left is blank for now. I will source some artwork for that space when I get a chance. I am also on the hunt for new office chairs under $150 each.
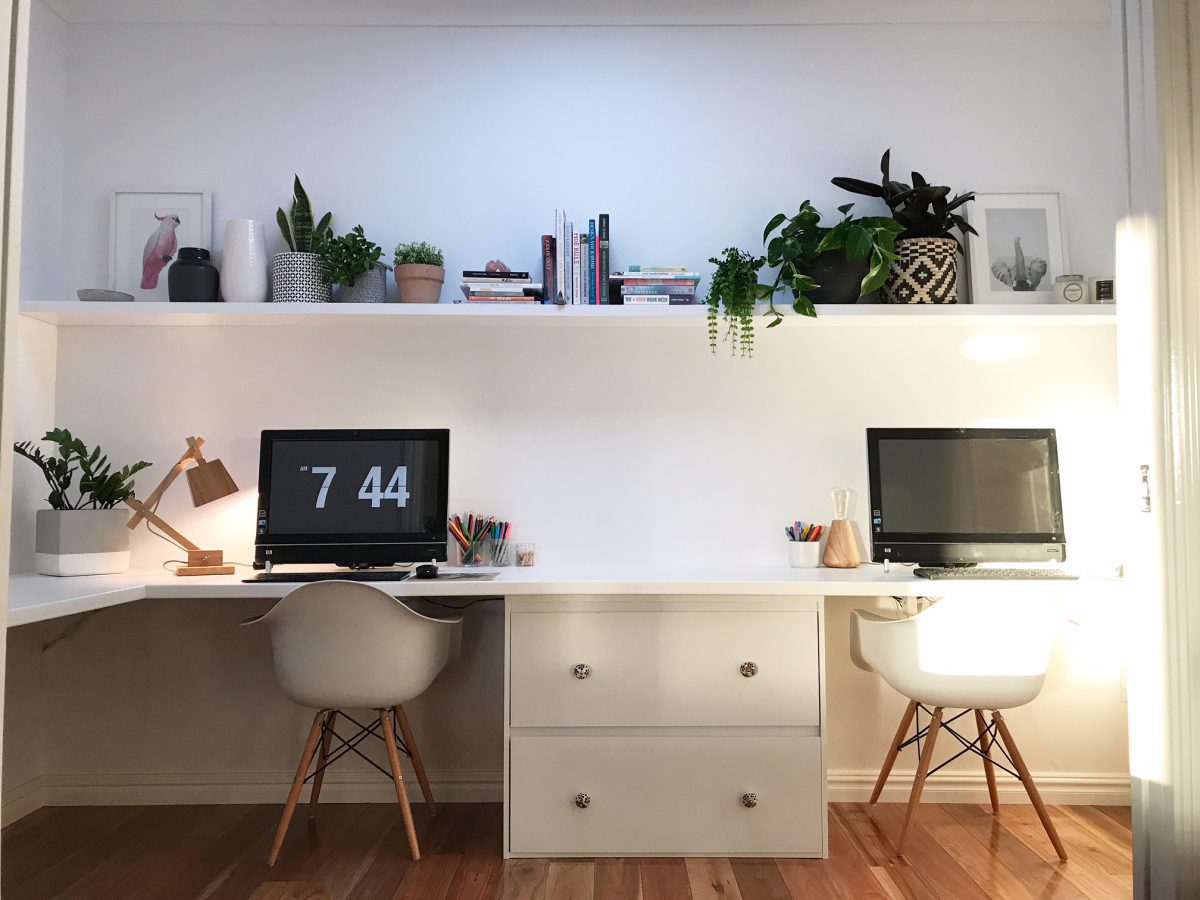


Oh it’s so bright in here now! I absolutely love it. You can brighten any space, or create your own home office easily on a budget of $2,000 with money to spare for new homewares, chairs or other bits and pieces.

People’s Choice Credit Union kindly helped me get this DIY project off the ground. As a credit union, they offer some of the most competitive rates in the country.
Have you got a DIY project you’d love to complete? Maybe a competitive, low rate personal loan will help you finally get that project finished – no need to wait and save. People’s Choice Credit Union have a range of personal loan options with no ongoing fees, pre-approval available and flexible terms to help you with whatever you have your heart set on.
Jump over to the People’s Choice Credit Union website and use their personal loans calculator to calculate your loan repayments and see how you might be able to make that DIY reno come to life!