
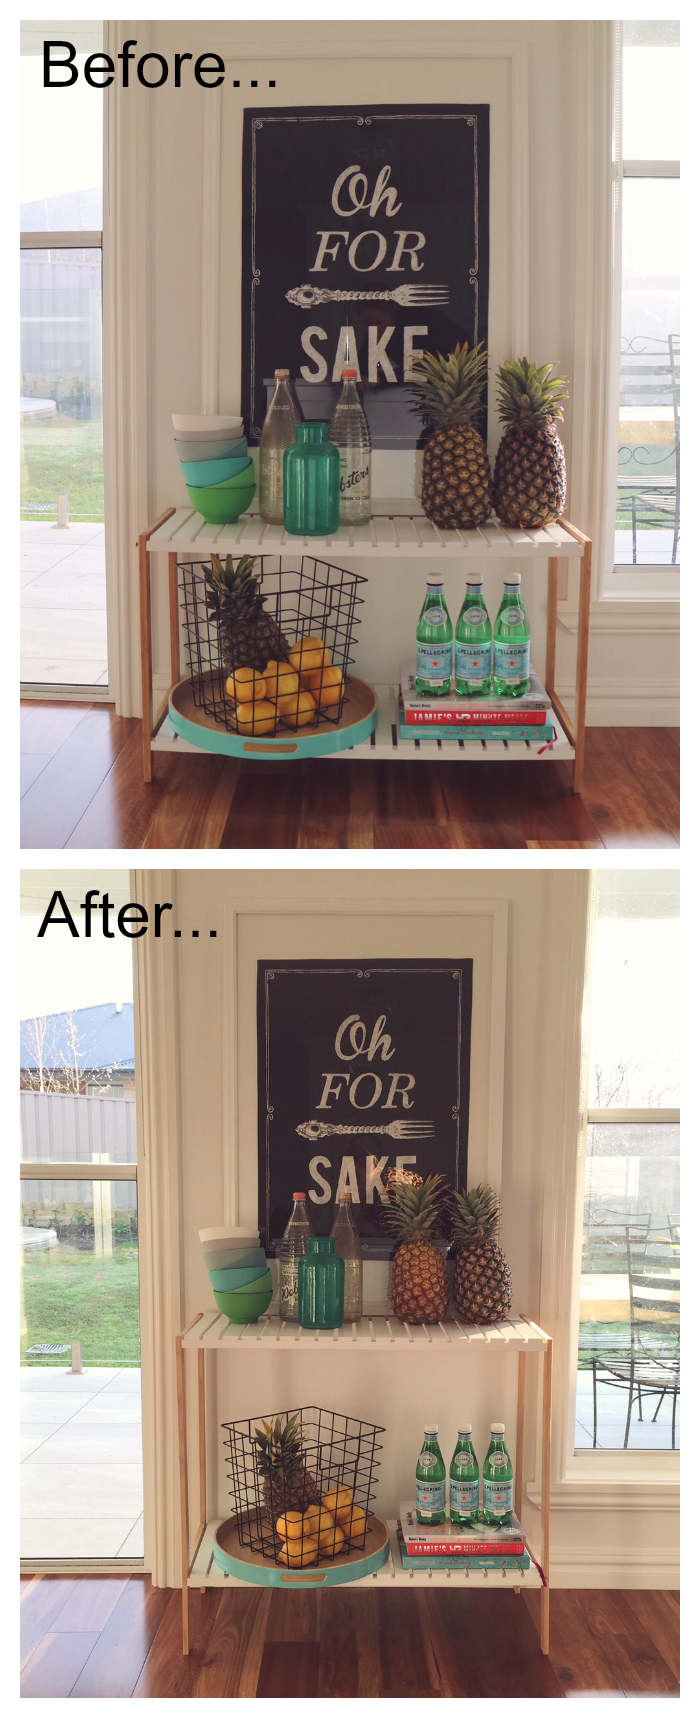
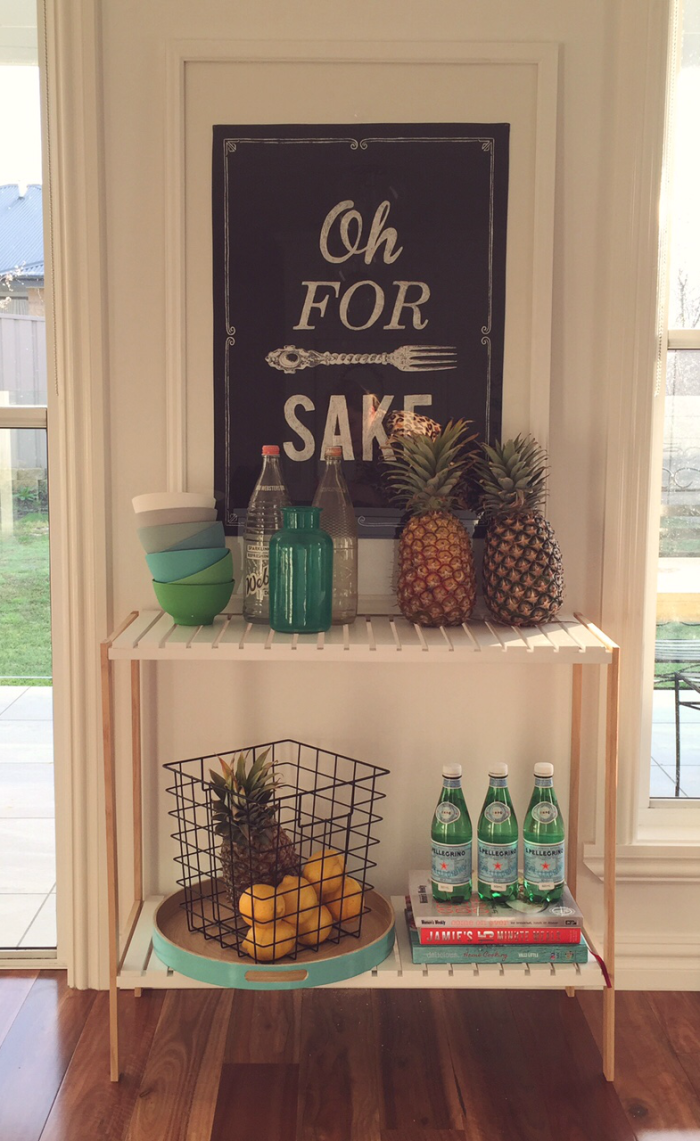
Hi there! Here’s a little DIY I did on Friday afternoon. I decided to make the legs on the Jimmy Stand a little taller with a simple “hack”. As it stood before (in my kitchen) it was only 46cm high. I made it about 70cm tall by adding to the middle. I just felt it was too small and by adding a little more height it suited my space better. If you have a Jimmy Stand (or want one!) they are so cheap and affordable as a side table – $39.95 plus postage (I am not being paid to endorse them, just LOVE!)…
Here’s a photo of before and after. I guess it’s hard to tell the actual proportion in the room, but you can see I made it taller in the middle and lifted it off the ground slightly…
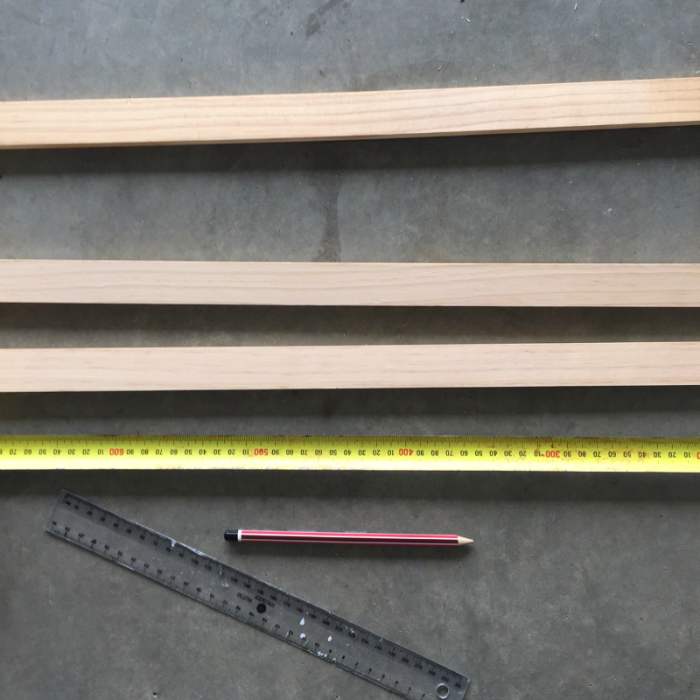
I bought some timber pine lengths. I kept the same width as the old frame. The lengths were $4 each. This was a very cheap hack!
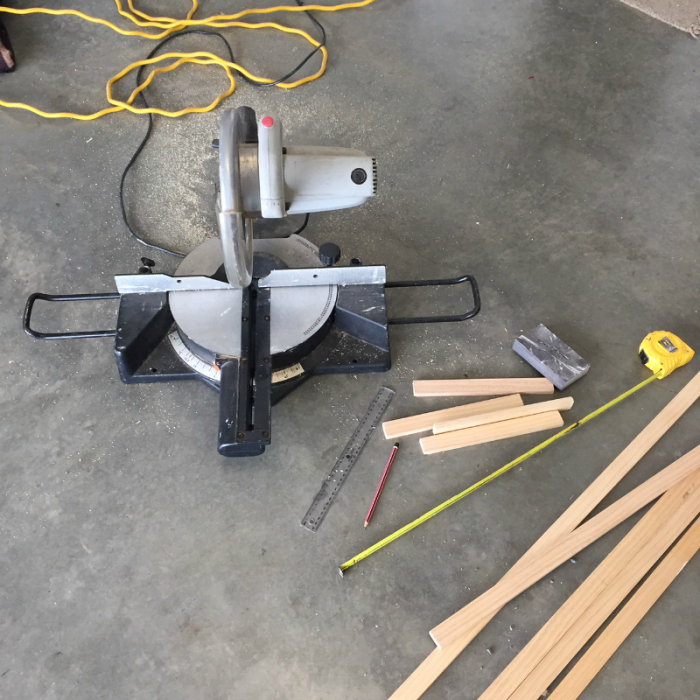
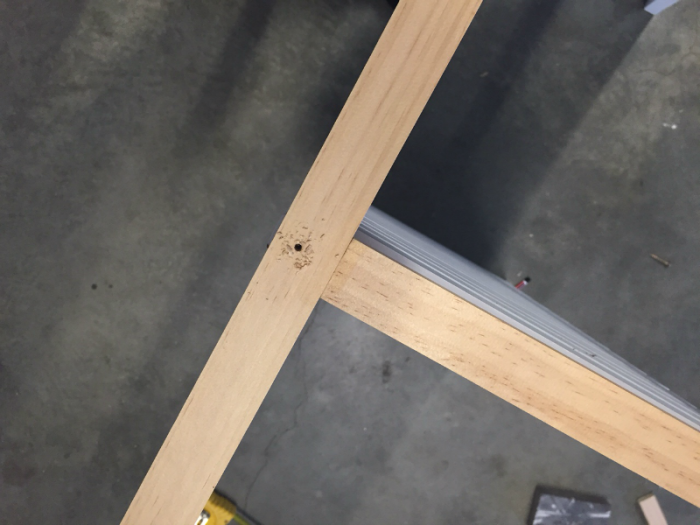
I measured up the 4 legs at 70cm the 4 middle sections. I used the dropsaw to cut them. That thing frightens the crap out of me – but I do love using it when I get going.
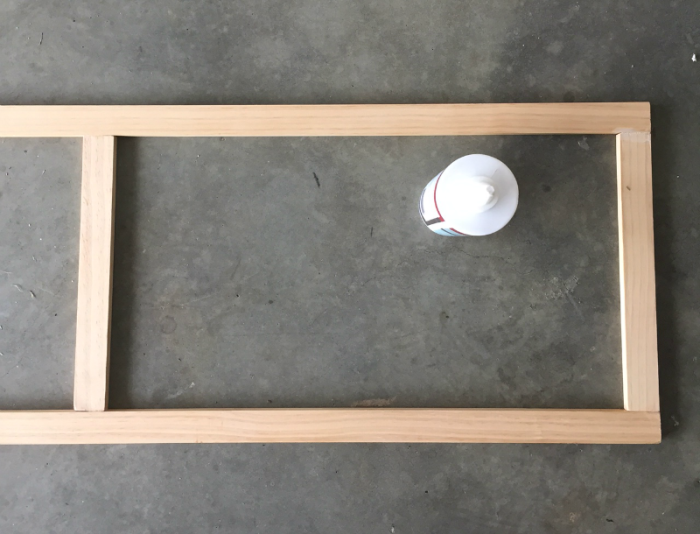
I glued the middle sections and left them for a few hours to dry. You’ll need really strong and clear wood glue.
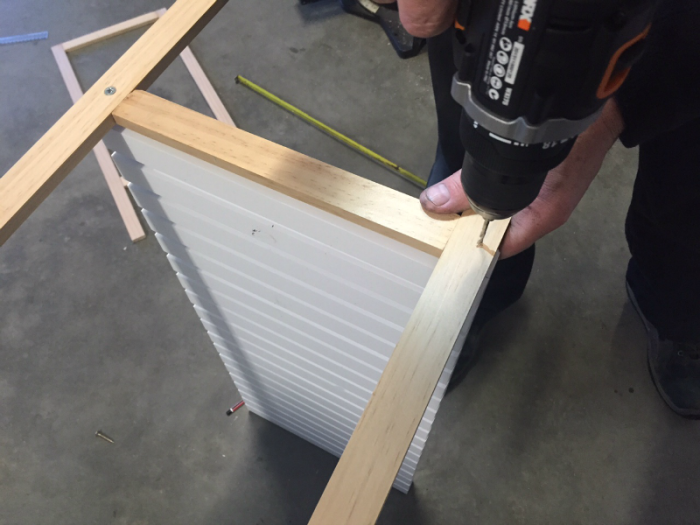
I then asked my husband to finish helping. He pre-drilled the holes so I could screw the legs back on the shelves. Two hands were required to hold it all back in place!
And taaa-dahhhh…. The legs went back on the sides. It’s now taller and more awesome.

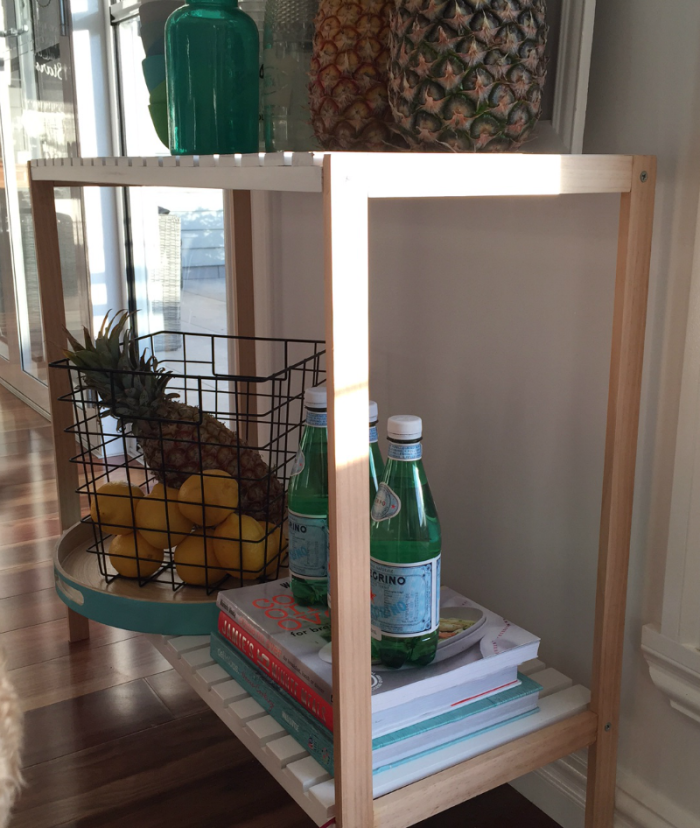
Loving it sick. I’m happy with this little spot in my home. For a total cost of under $60 I have a new side table in my kitchen.