
Remember that word decoupage? It just sounds so 1990’s to me. I remember being in about year 7 or 8 and I was obsessed with decoupage. Yes, I was one of those kids who was crafting, cross-stitching and knitting on the weekends. I decoupaged a glory box with little cherub angels all over it and I loved that box! It took me weeks of glueing and lacquering and sanding…
This leads me to my latest DIY project… Did anyone see me on Facebook and Twitter carrying on about buying photo frames? I wanted to buy some and I couldn’t find anything at all! They weren’t my style from what I could see and I wanted a specific look. So the decoupage idea came about! Why not make my own!
Now this is a really easy project and you can whip this up in about 20 minutes. Of course, I couldn’t stop at making just a couple… I think I ended up making 6 or 7.
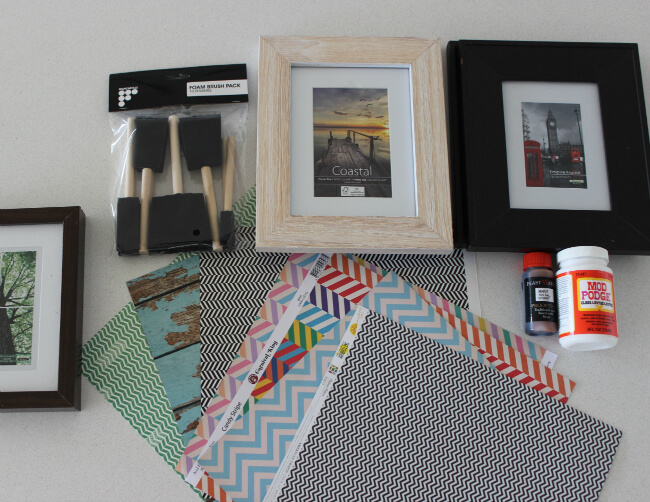
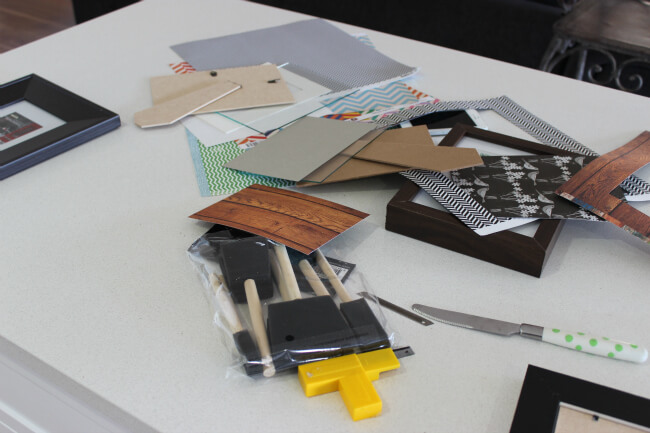
What I bought:
- Photo frames in various sizes. Choose frames that don’t have dips, or fancy edges. I got mine from Sam’s Warehouse and they were about $3 each.
- Sponges (they don’t leave brush marks)
- Various pieces of scrapbooking paper
- Mod Podge (this is the glue and the top coat all in one). It’s from Spotlight and was about $12. Look for this type I have in the photo as there are heaps of varieties. The lady in the store helped me decide which one I needed for this project
- Stain (now you can see that I have a small bottle of stain in this photo, but I didn’t end up using it. I thought that maybe I could rub some along the edges of the paper after I glued it to my frame for an aged look, but I decided against it at the last second. You could try it though!)
- I already had the sharp knife for cutting the paper
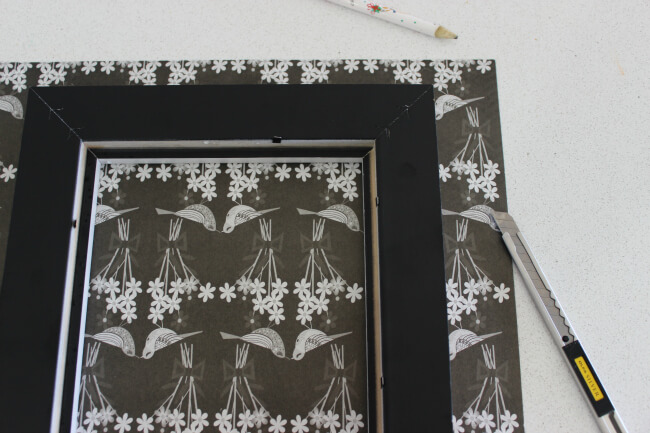
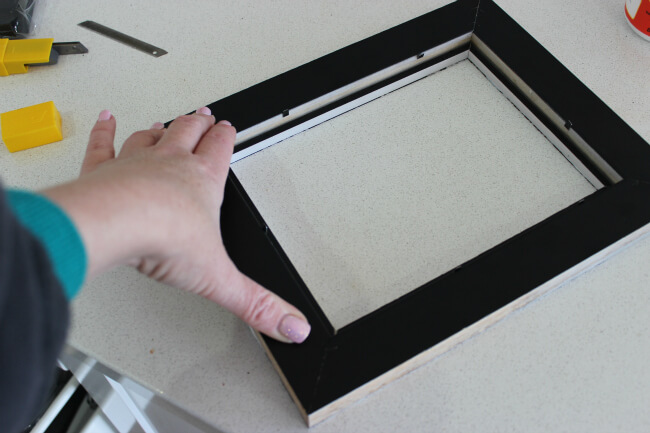
Take the back and glass out from the frame. Lay the paper face down and the frame on top of it face down. The sensible thing to do is to draw the shape with a pencil first to get a better cut, but I am lazy and cut whilst holding the frame still.
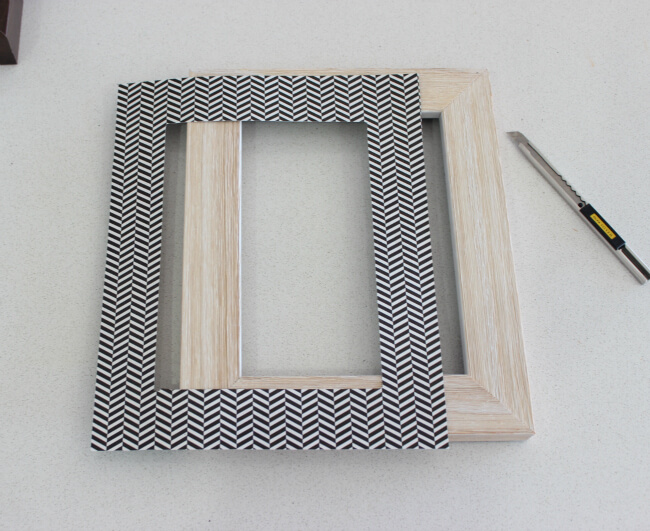
So this is what it looks like when the paper is cut to size.
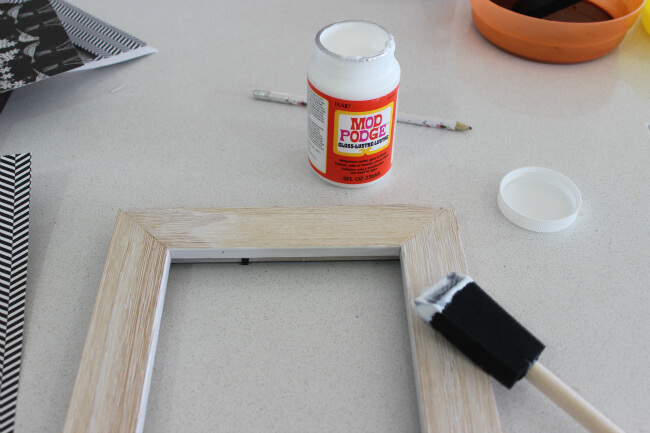
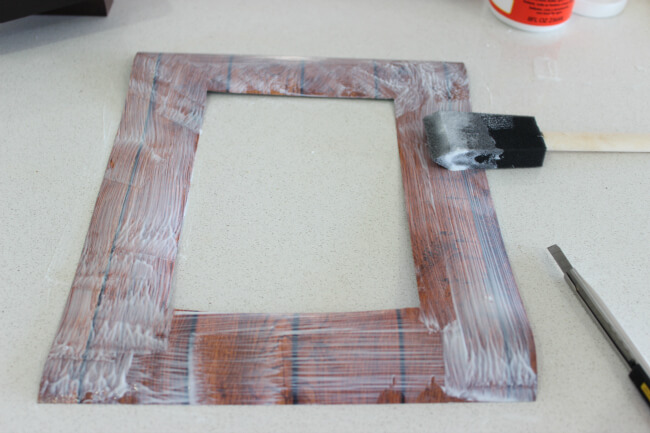
Slap the glue all over the back of the piece of paper. I originally did the frame and that didn’t stick properly. You want the paper to be wet.
Press the frame on to the paper.
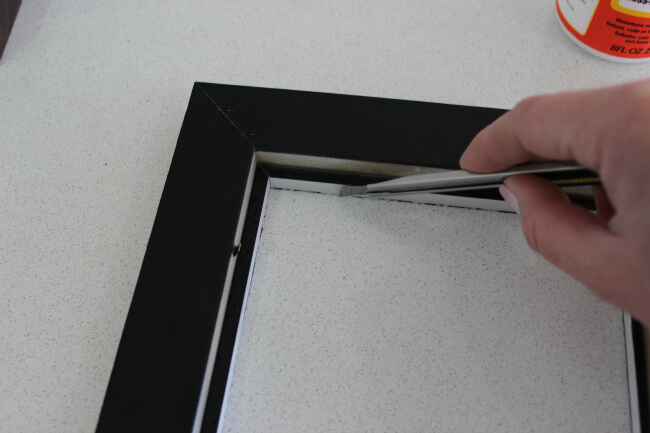
Cut off any excess paper for a neat finish. Leave it to dry for about half an hour before you start the top coat.
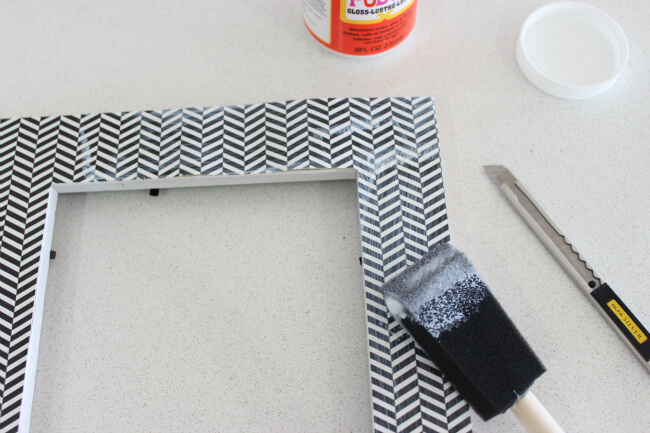
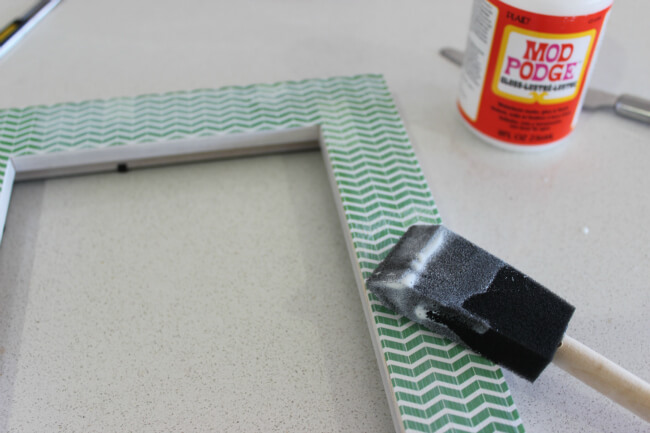
Now paint the Mod Podge glue straight over the top of the paper and frame. Like I said – this is a glue and a top coat product all-in-one. The glue dries clear like a resin and gives that matt finish. Make sure it’s pretty thick. I tried not to paint the edges of the frame and wiped it clean now and then. I did 2 top-coats.
I did lots at once while I was waiting for each of them to dry.
Please note: I have a stone benchtop so I can cut on this easily. You need a surface to cut on that won’t leave scratches behind.
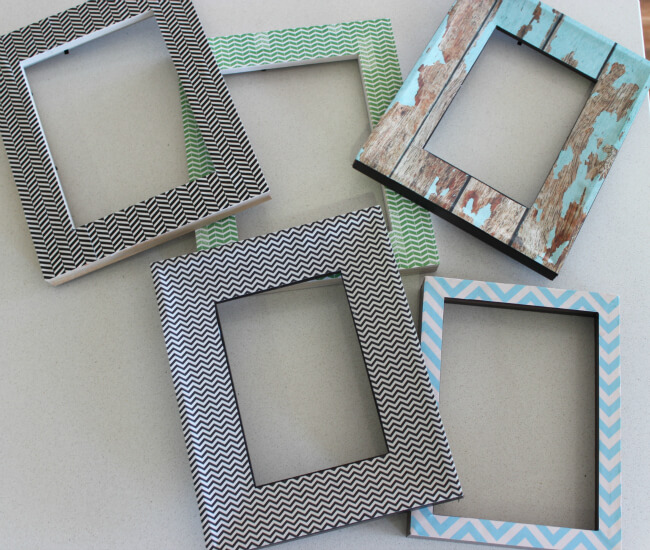
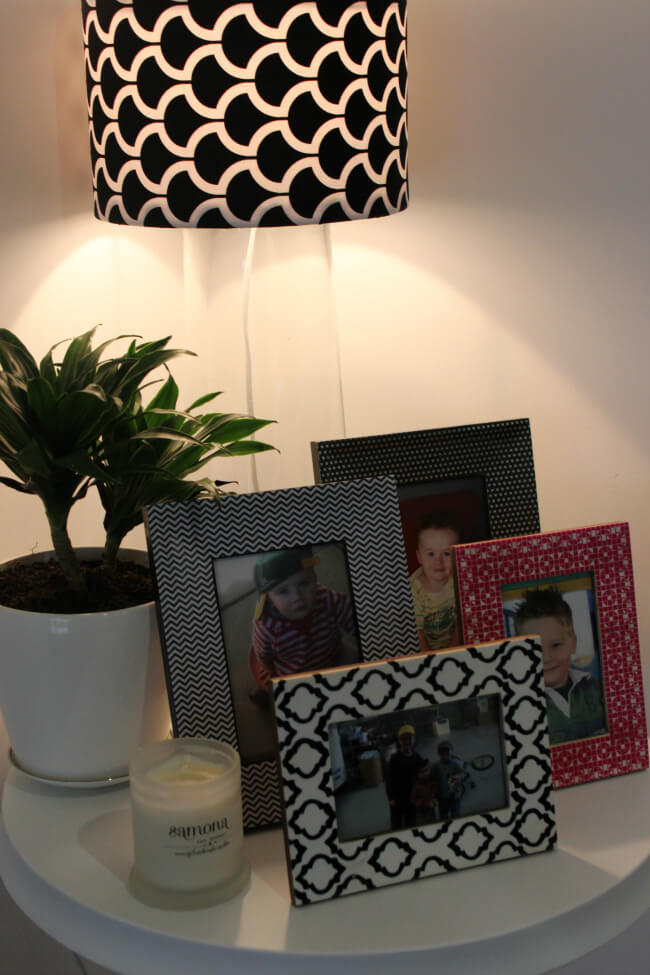
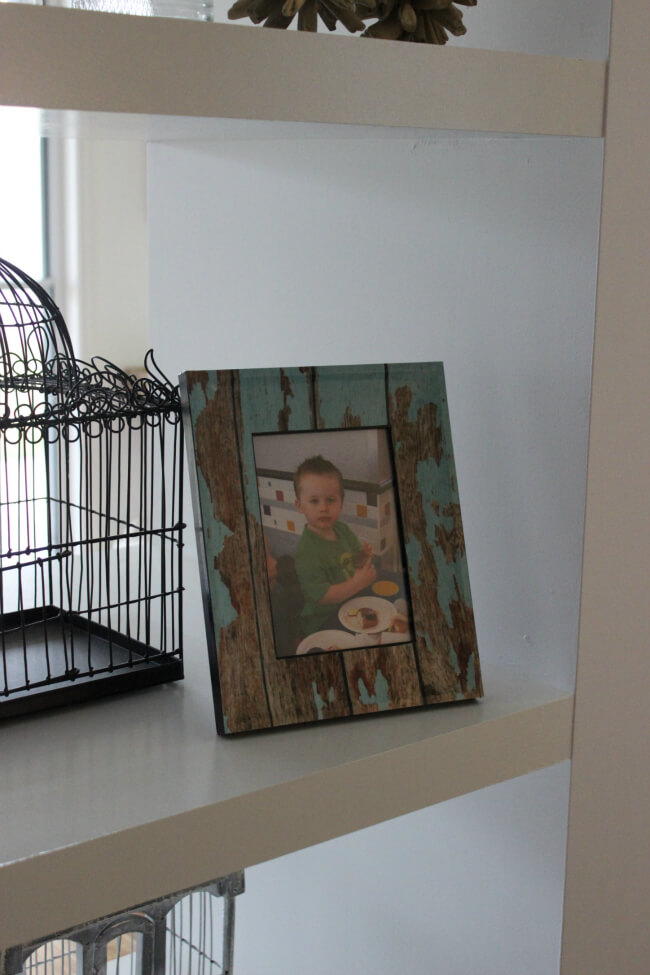
And there they are! All piled up and waiting for new homes. Some of them I am saving for my new home office, but some of them have already found a new home in the photos below…
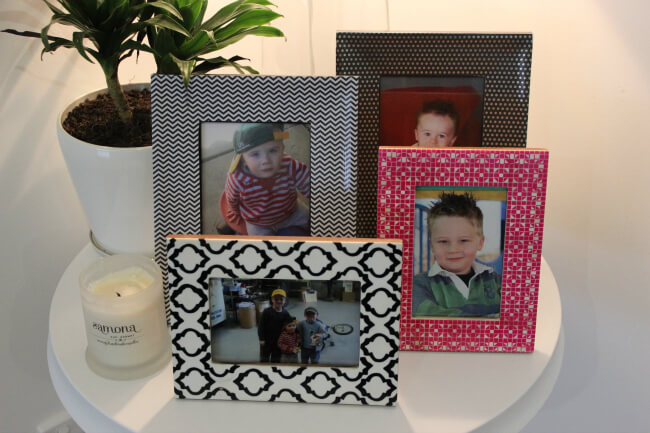
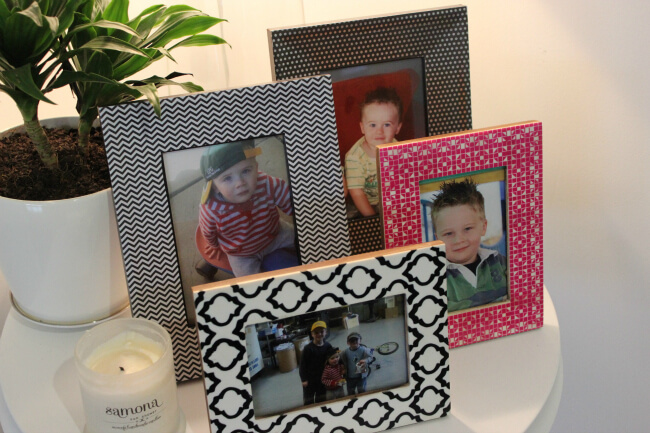
PS. I know you will ask about the pink frame and the Morocco frame – I didn’t make those! The pink frame was a birthday present from Fenton & Fenton and the black and white Morocco frame was from The Warehouse in Wagga.
Let me know if you try this project! X